ConeKiller
Motorhead
Solid subframe bushings for the 6.
The fabrication of the solid bushings are probably the easiest part of the job, the hardest part is removing the front subframe bushings.
Front Bushing Removal
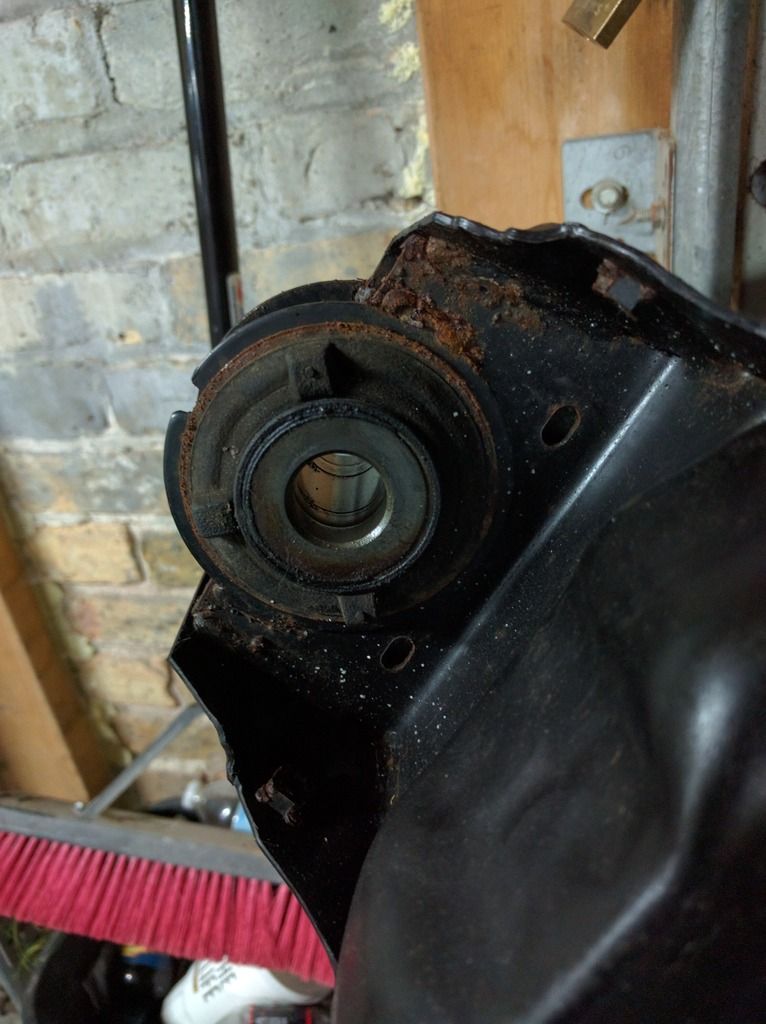
The first cut to remove the outer flange of the bushings, with a hacksaw or reciprocating saw.
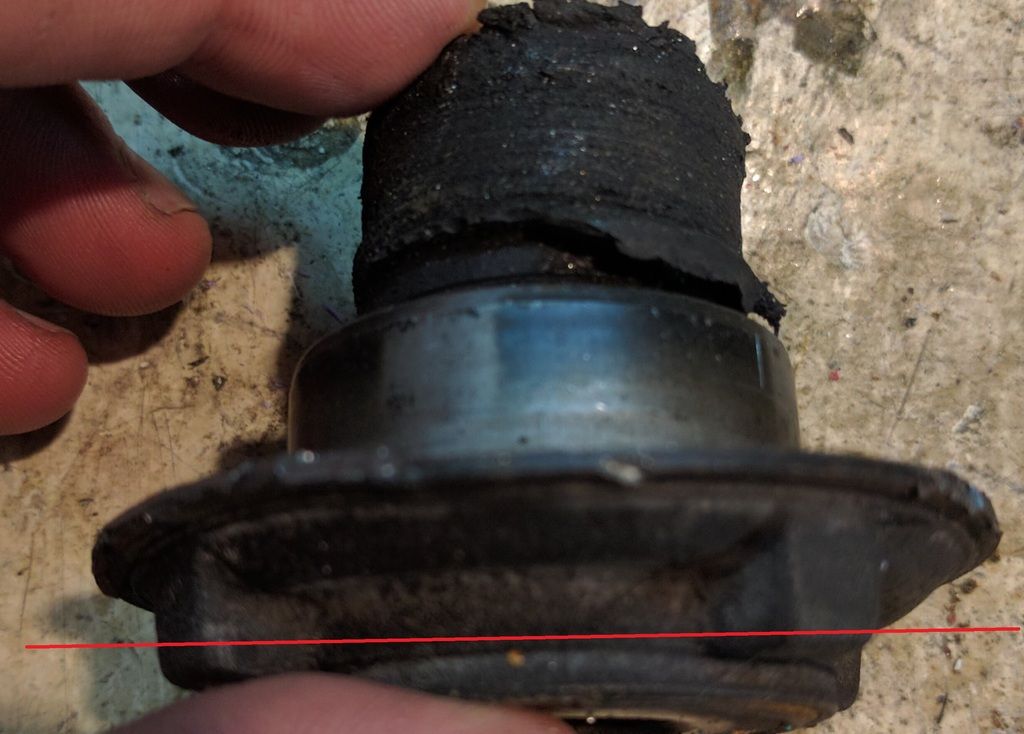
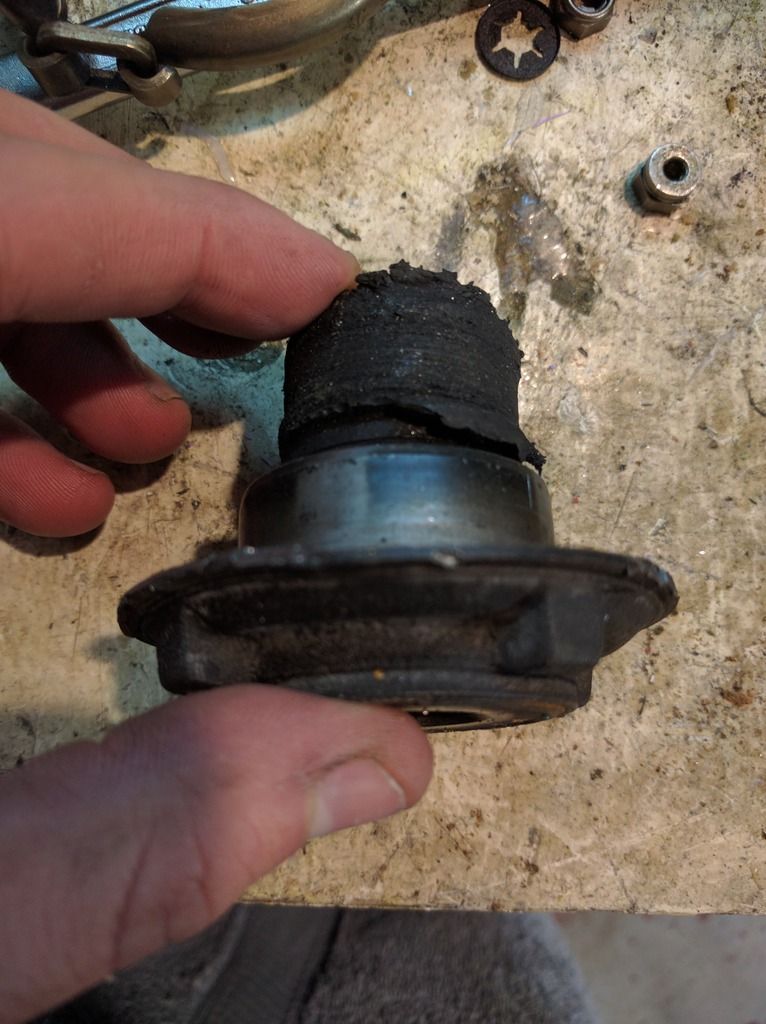
The second cut needs to be from a hole saw, detaching the bushing shell from the internal sleeve.
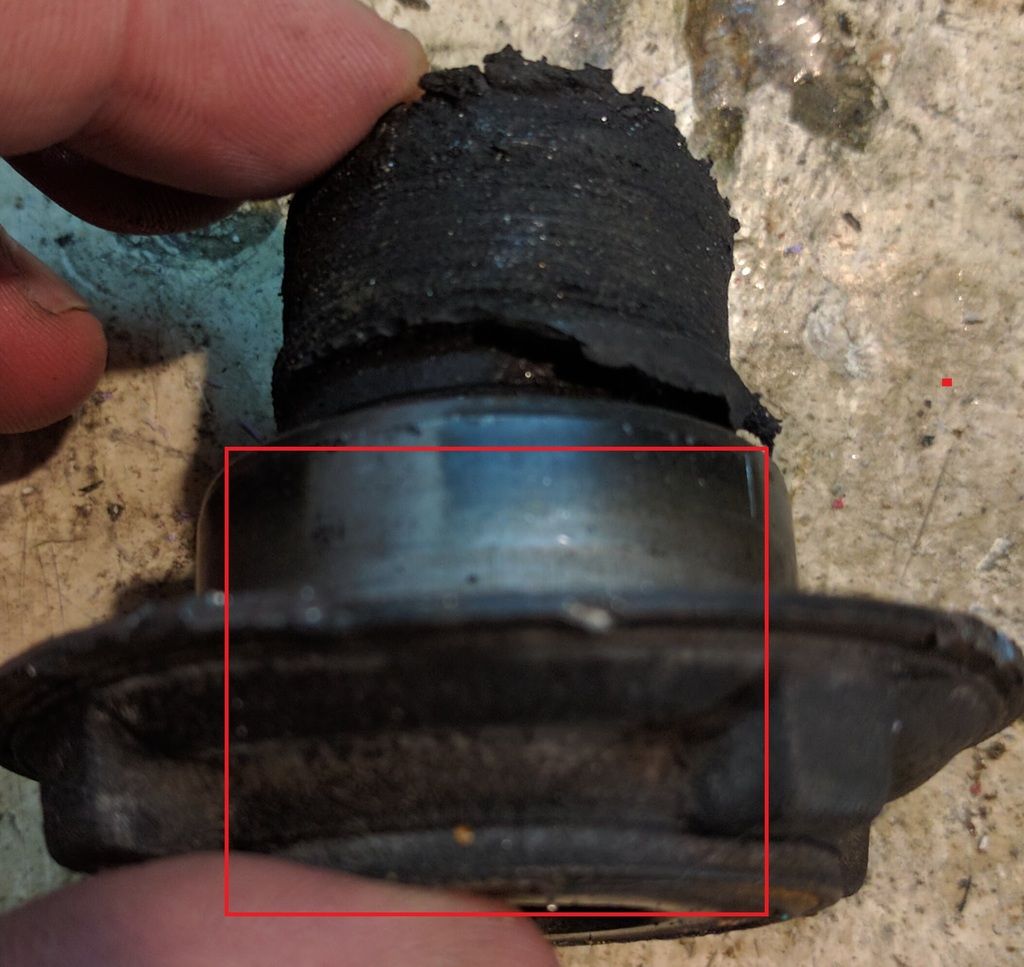
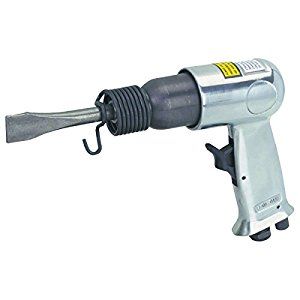
Once removed a standard air hammer, preferably with a curved chisel will make short work of the front bushing shells.
Rear Bushings
Easy Peasey. Air hammer them off. No bonded center sleeve means each side can be removed easily and independently.

New Solid Bushings
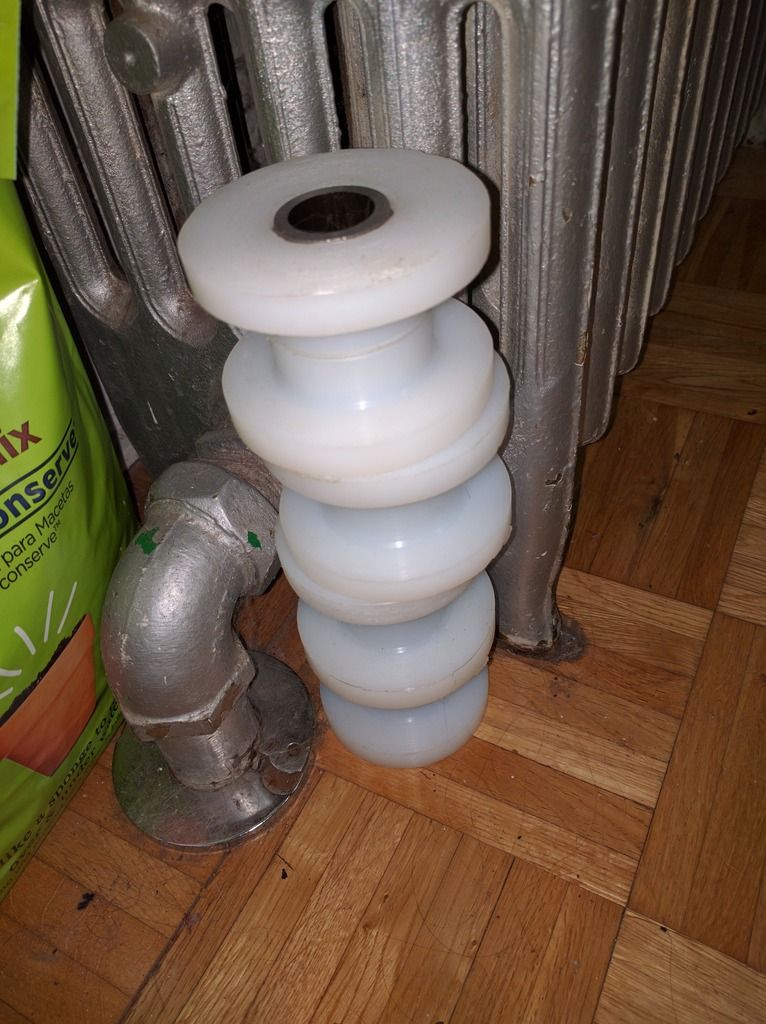
They look like this, not installed, turned down from 3" UHMW stock with a cut metal sleeve.
The metal sleeve is there to take the crush of bolt and washer, and the plastic bushing controls the lateral motion of the subframe.
Specs:
I will edit in the specs.
@phate;
The fabrication of the solid bushings are probably the easiest part of the job, the hardest part is removing the front subframe bushings.
Front Bushing Removal
The first cut to remove the outer flange of the bushings, with a hacksaw or reciprocating saw.
The second cut needs to be from a hole saw, detaching the bushing shell from the internal sleeve.
Once removed a standard air hammer, preferably with a curved chisel will make short work of the front bushing shells.
Rear Bushings
Easy Peasey. Air hammer them off. No bonded center sleeve means each side can be removed easily and independently.
New Solid Bushings
They look like this, not installed, turned down from 3" UHMW stock with a cut metal sleeve.
The metal sleeve is there to take the crush of bolt and washer, and the plastic bushing controls the lateral motion of the subframe.
Specs:
I will edit in the specs.
@phate;