Clintb3astwood
Greenie Member
Hello Guys!
I'm new to the forums and a new mazdaspeed 3 enthusiast. I hope this post is in the right section.
I haven't picked up a speed 3 yet but im looking to grab one by end of summer, beginning of fall.
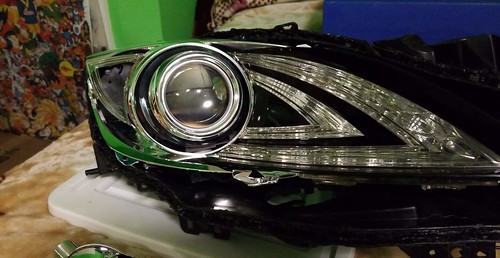
In the mean time ive been working a project, i used to do custom headlights on the side and ive always waned to do a custom job on Speed 3 tech package headlights. So right now i have opened a set of speed 3 technology package lights and have modded the stock projector with sharpen the cut off, as well laser etched a custom design and did a passive demon eye mod, as well as led demon eyes. To my surprise i discovered behind the triangle section of the lights cover the DRL section, there might be space to add a second projector. I shall post pics for your viewing and progress here shortly.
I'm new to the forums and a new mazdaspeed 3 enthusiast. I hope this post is in the right section.
I haven't picked up a speed 3 yet but im looking to grab one by end of summer, beginning of fall.
In the mean time ive been working a project, i used to do custom headlights on the side and ive always waned to do a custom job on Speed 3 tech package headlights. So right now i have opened a set of speed 3 technology package lights and have modded the stock projector with sharpen the cut off, as well laser etched a custom design and did a passive demon eye mod, as well as led demon eyes. To my surprise i discovered behind the triangle section of the lights cover the DRL section, there might be space to add a second projector. I shall post pics for your viewing and progress here shortly.
 received_2178948442172722
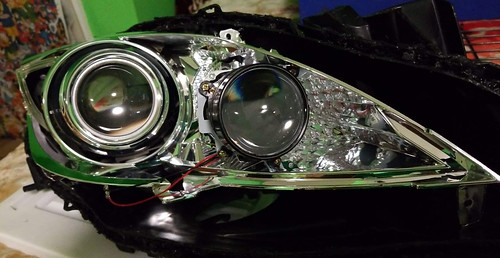 received_436615110474349
 20190513_182039
 20190513_182018
 20190513_214835
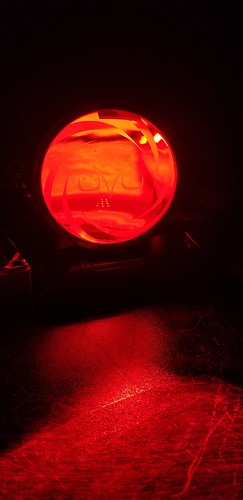 20190513_214746
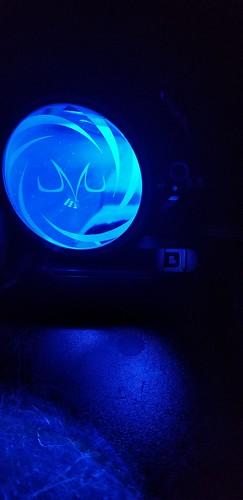 20190513_214801
 20190513_214332
 20190513_194744
 20190513_194114
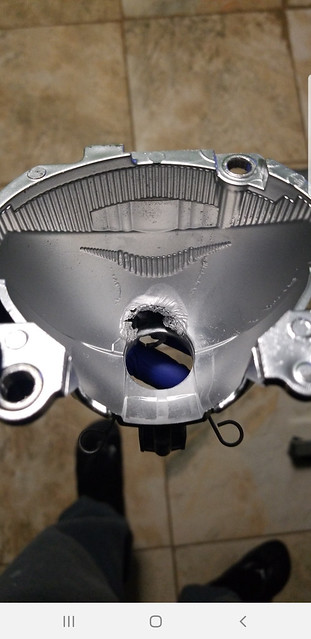 Screenshot_20190517-092550_Messenger
 Screenshot_20190517-092554_Messenger
 20190517_010507
 20190517_010508
 20190605_151551
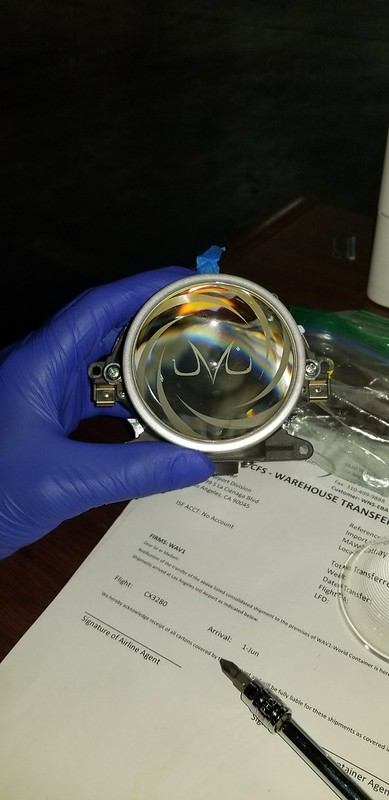 20190605_151555
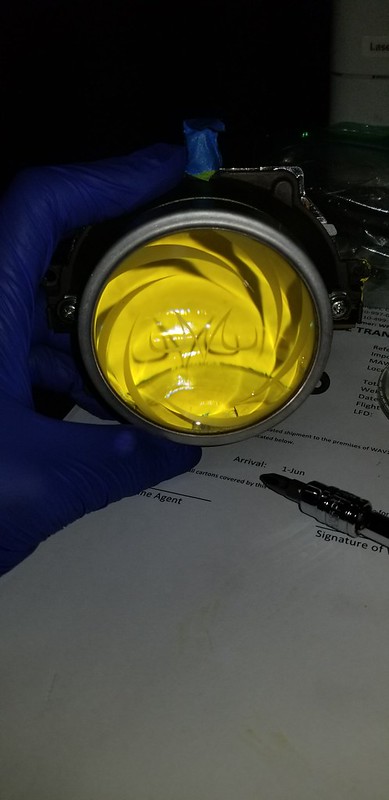 20190605_151520
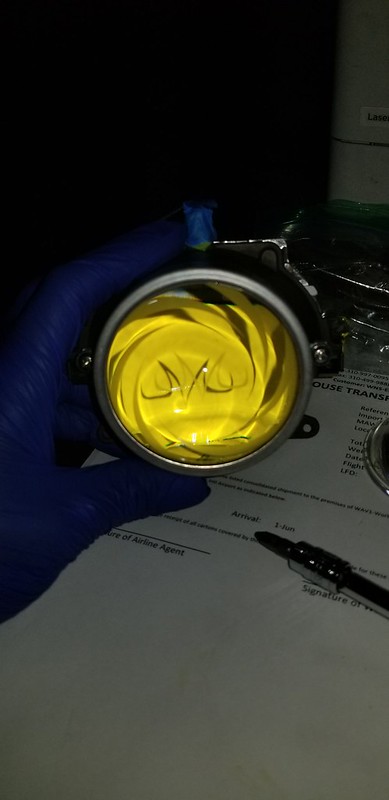 20190605_151523
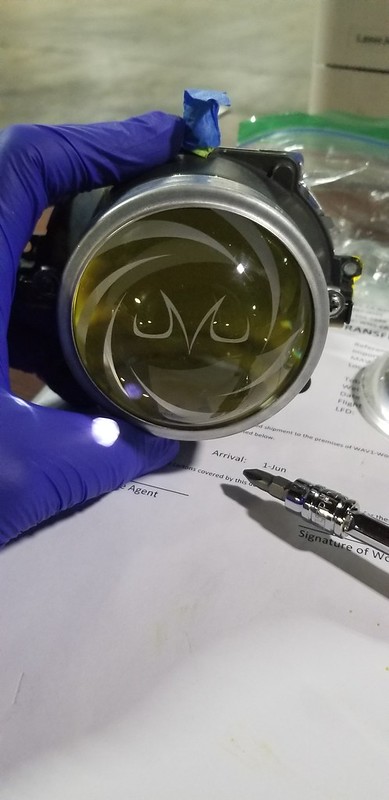 20190605_151514
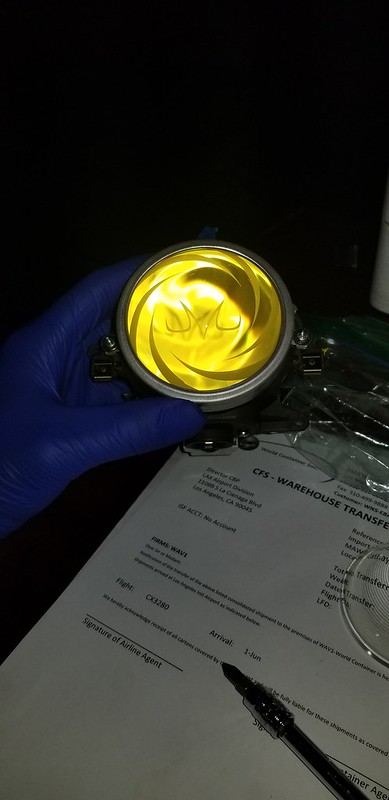 20190605_151557
 20190605_233417
 IMAG4811
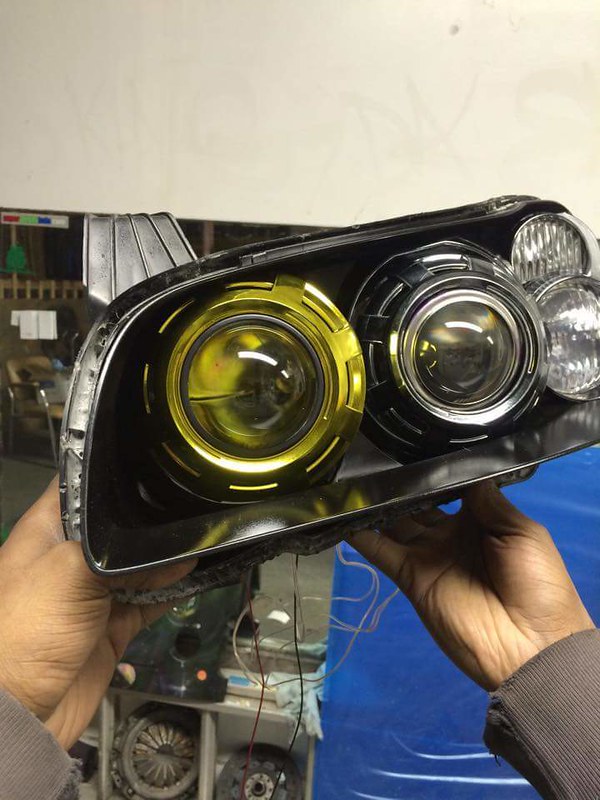 FB_IMG_1428373102935
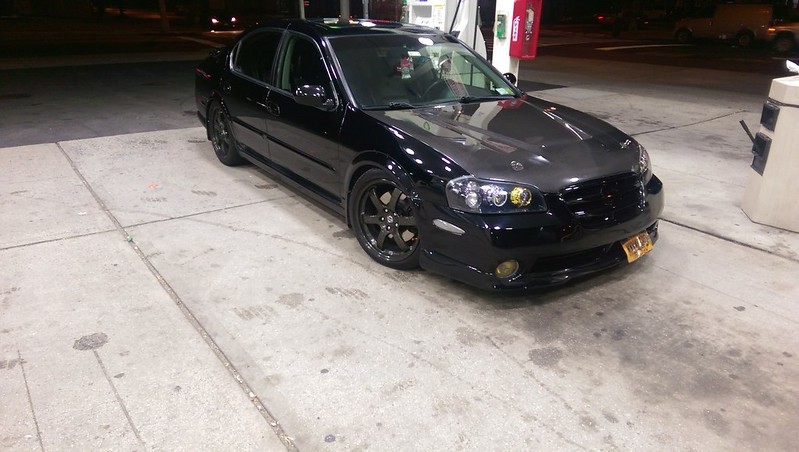 IMAG0262_1
 IMAG0264
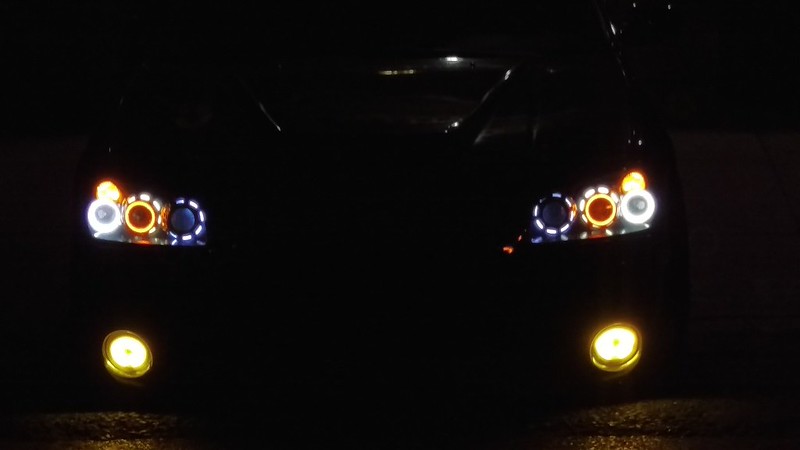 IMAG6383
 received_10207115304184817
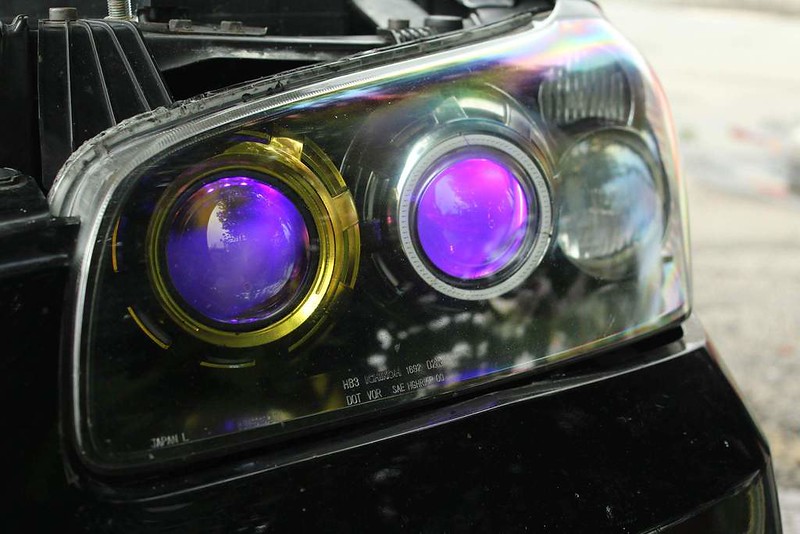 received_10207115301904760
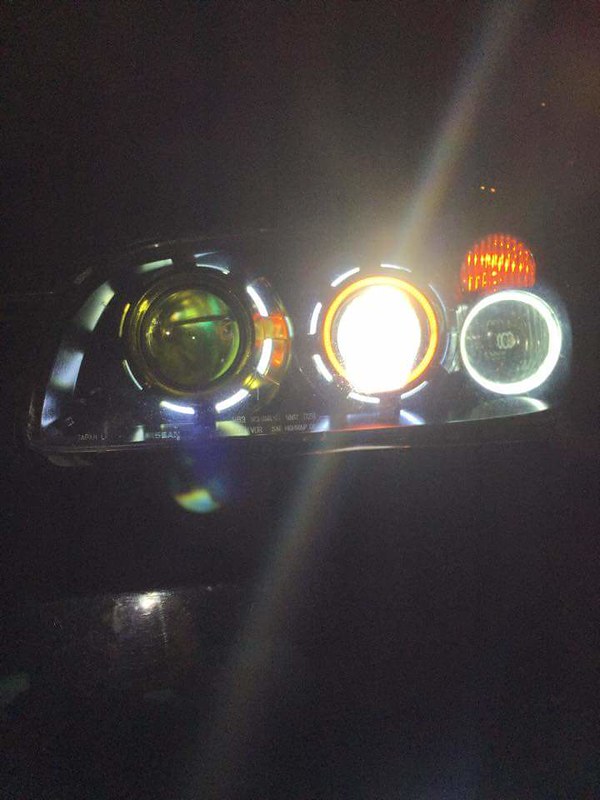 received_bWVzc2FnZV9ibG9iX2F0dGFjaG1lbnQ6MTA3OTY4OTk1NTM5MTE3NQ_1
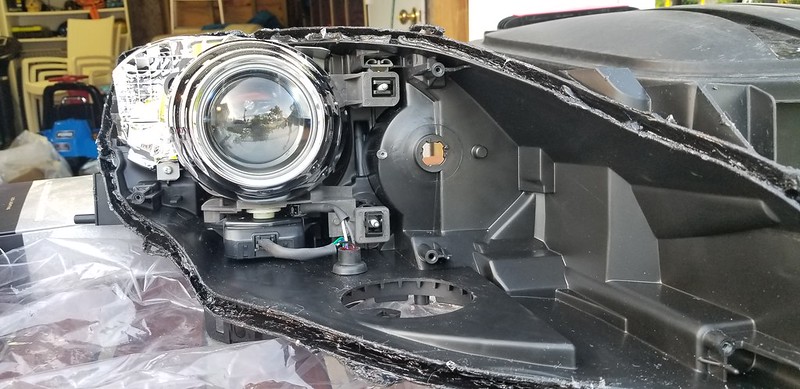 20190707_193537
 20190707_193541
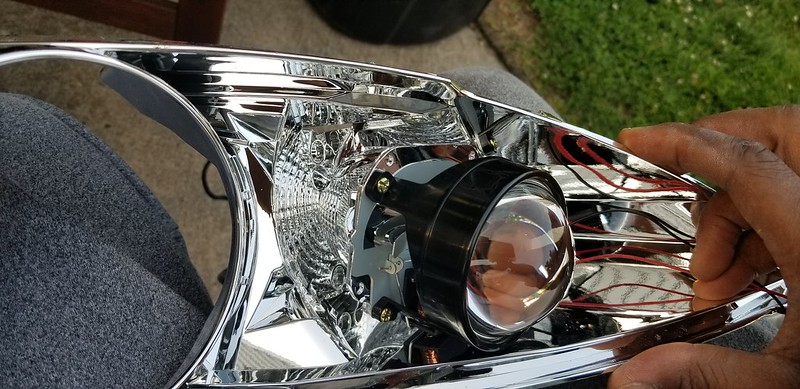 20190707_193820
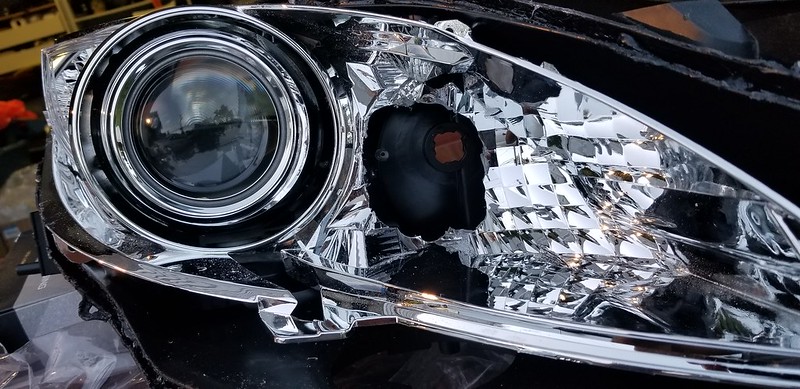 20190707_201104
 20190707_201107
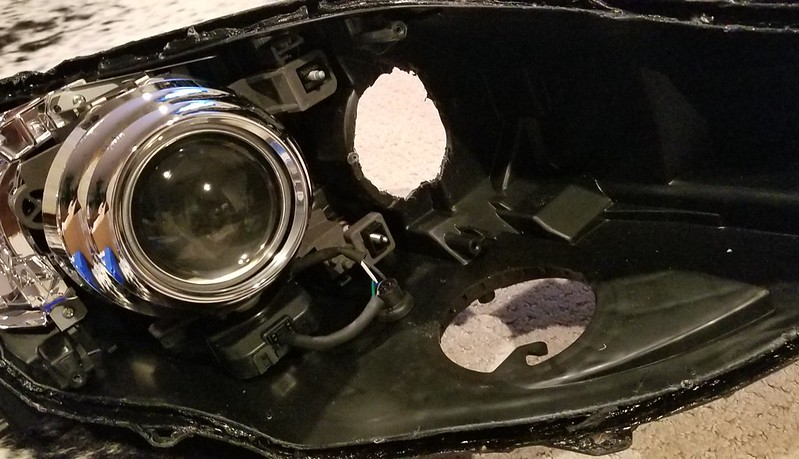 20190707_233610
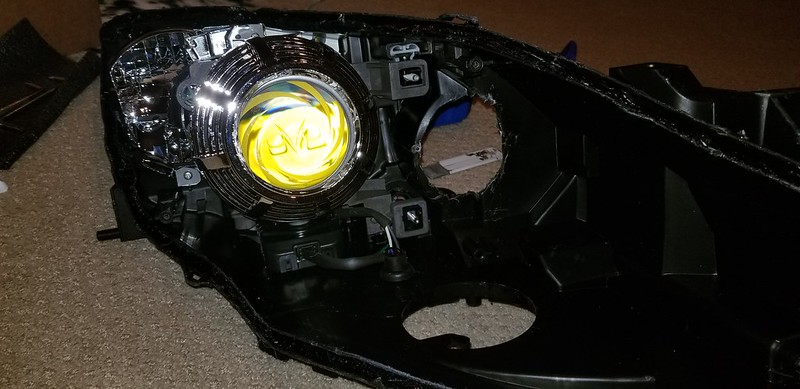 20190708_004755
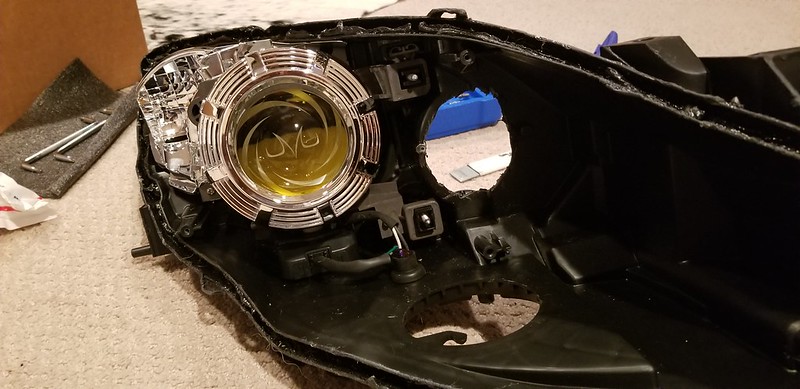 20190708_004813_resized
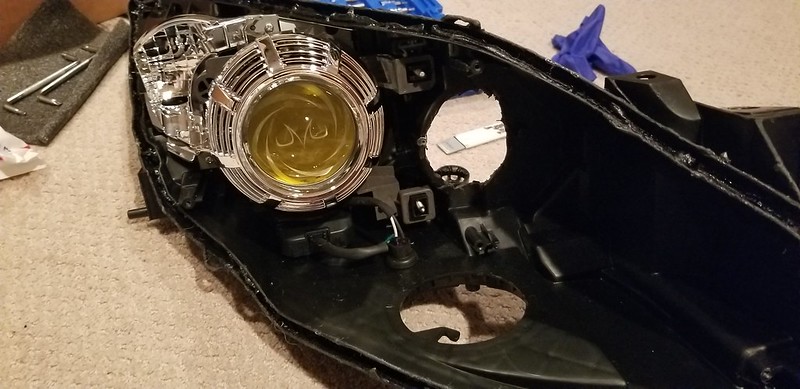 20190708_004816_resized
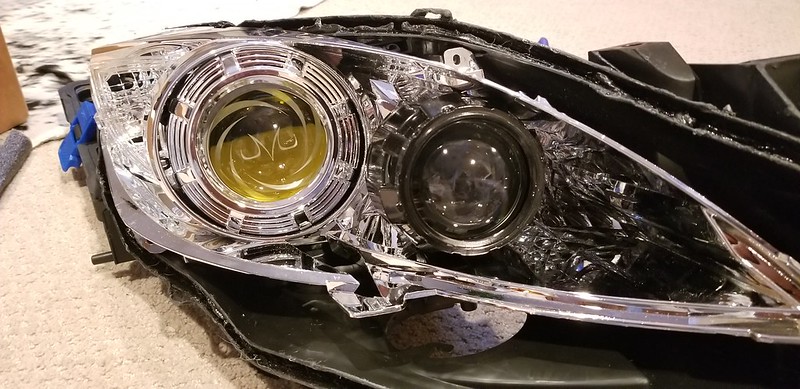 20190708_005027_resized
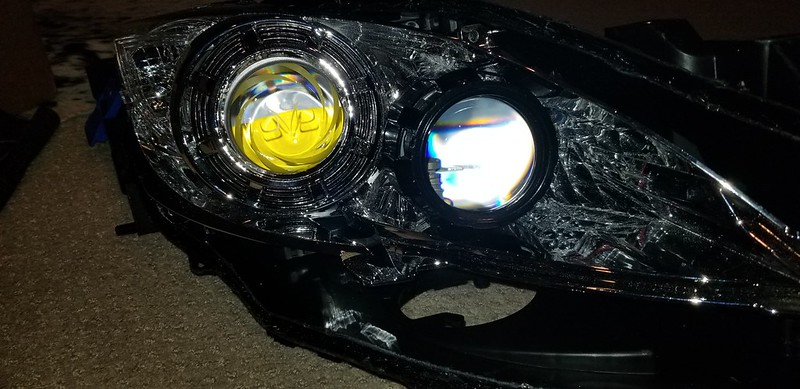 20190708_005032_resized
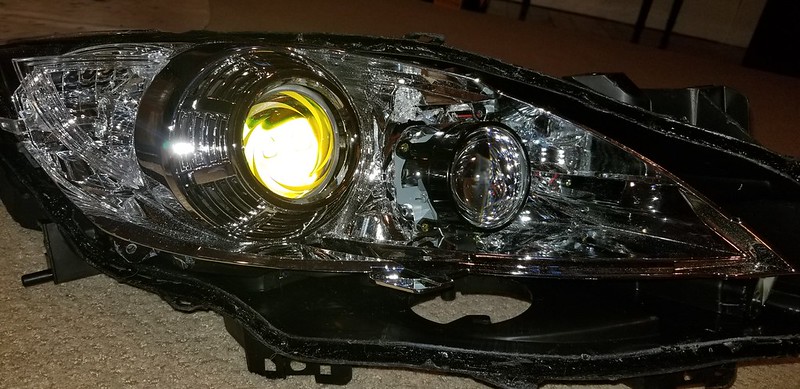 20190708_005126_resized
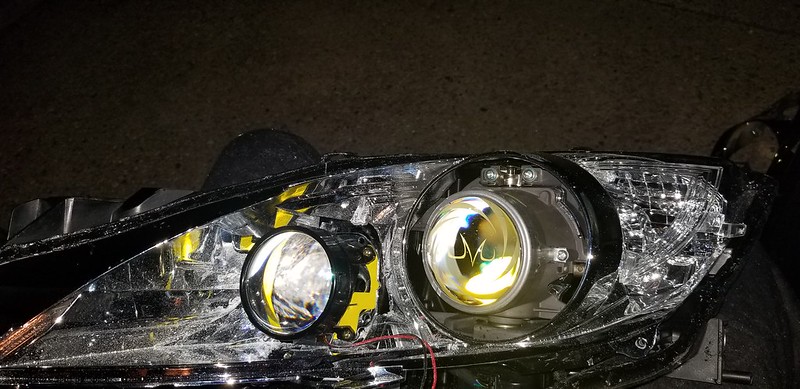 20190811_211056
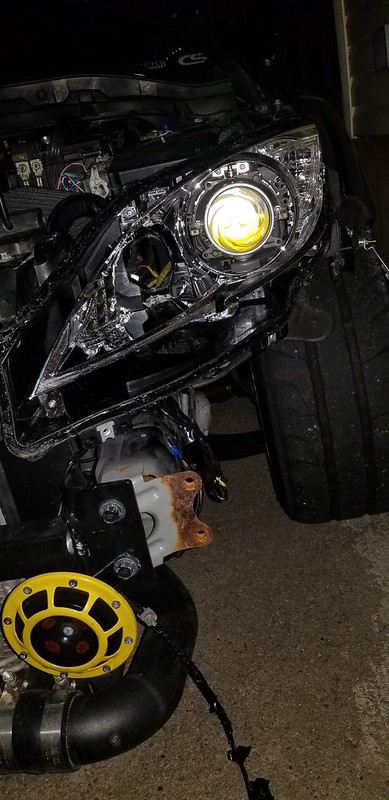 20190910_210115
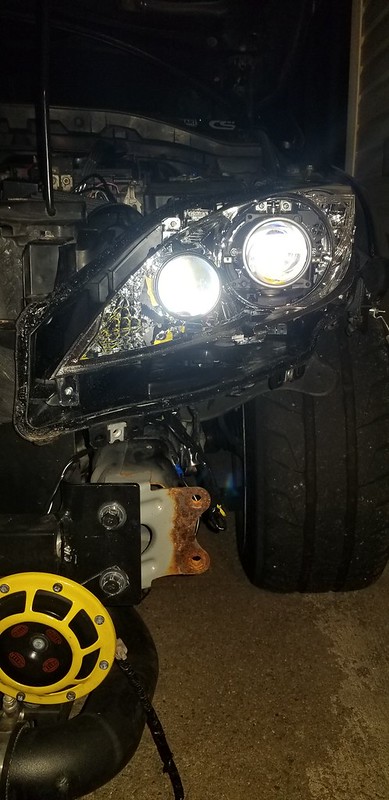 20190910_210911
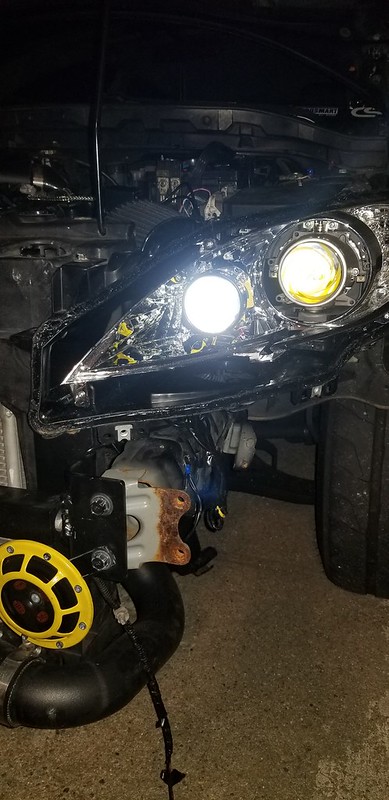 20190910_210916
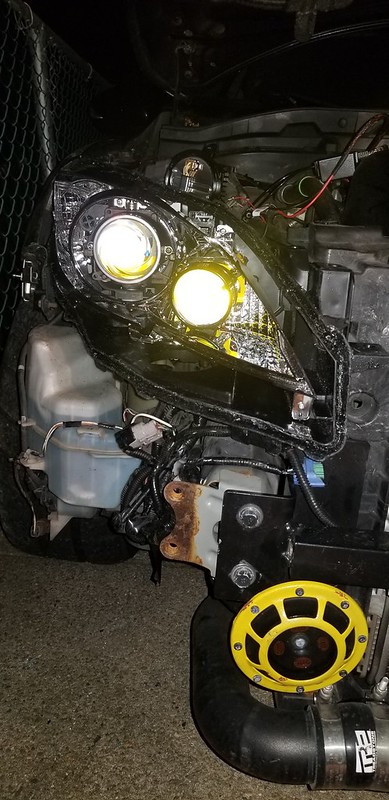 20190910_210923
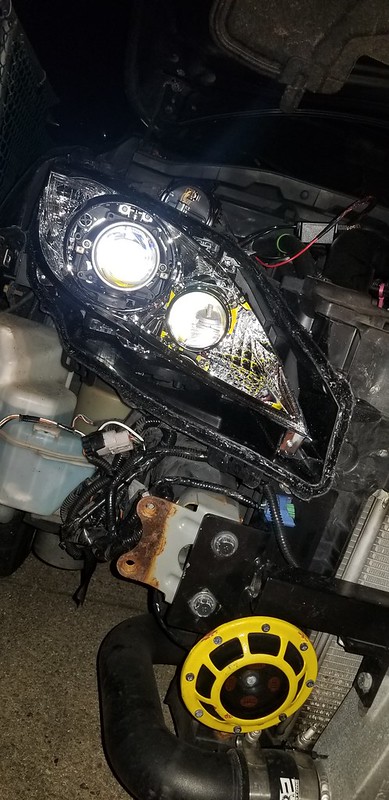 20190910_210929
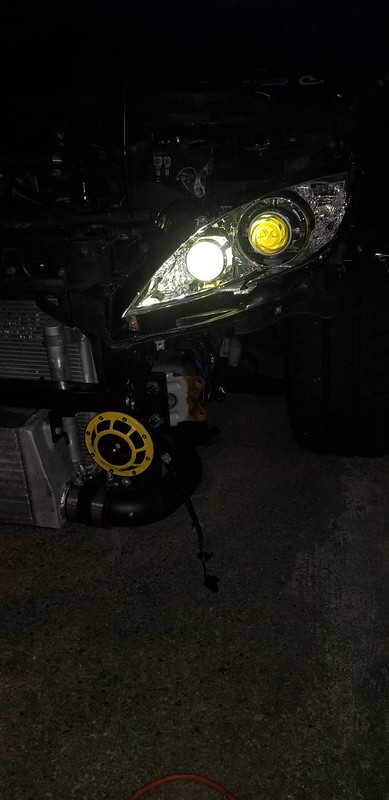 20190910_211418
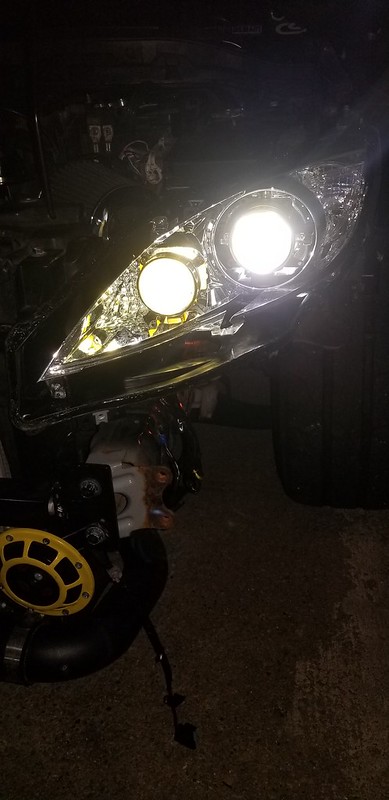 20190910_211519
 20190910_223210
 20190910_223232_resized
 20190910_223913_resized
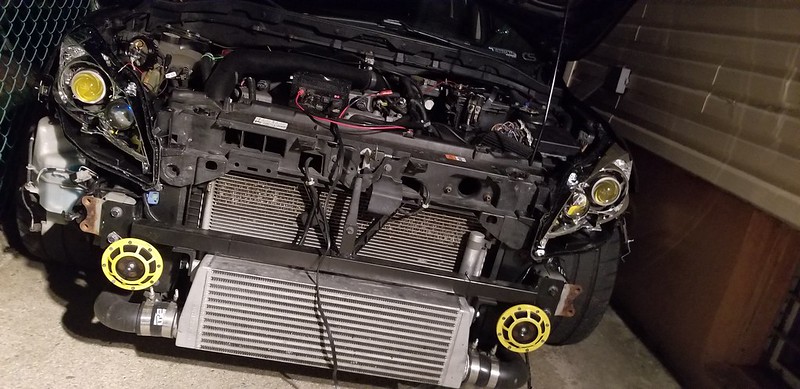 20190910_223927_resized
 20190910_223930_resized
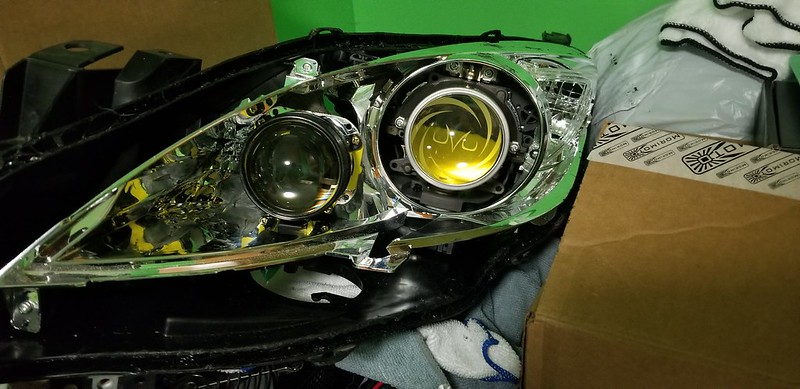 20190910_231236_resized
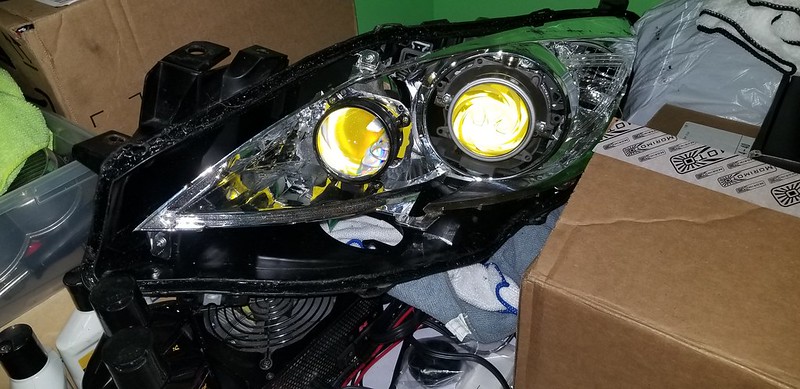 20190910_231246_resized
 20190930_114846
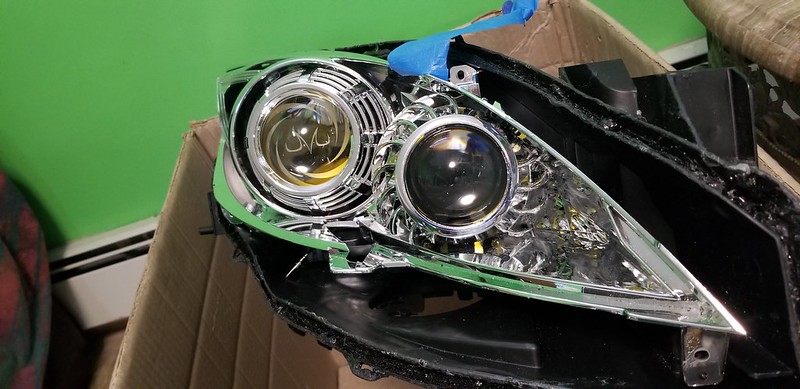 20190930_114850
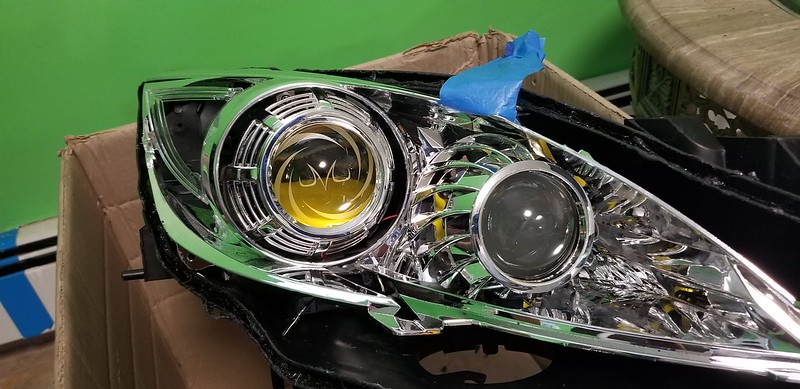 20190930_114859
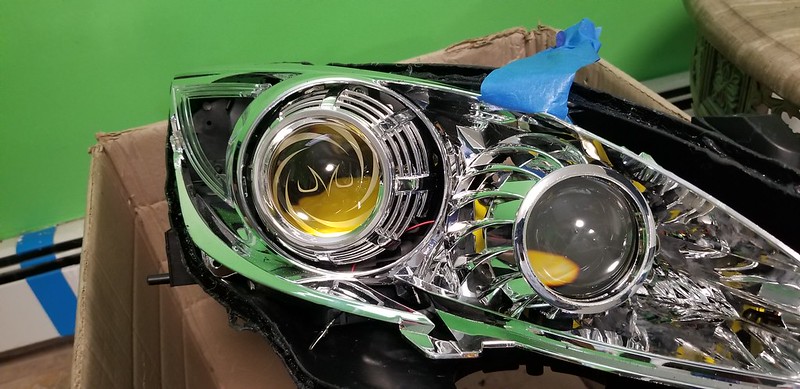 20190930_114904
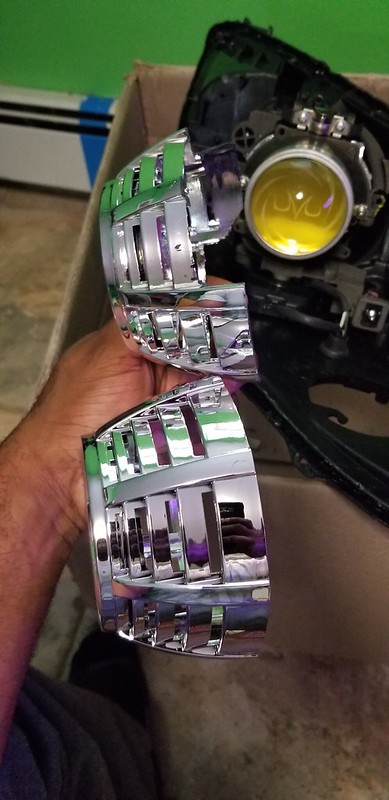 20190930_115016
 20190930_115023
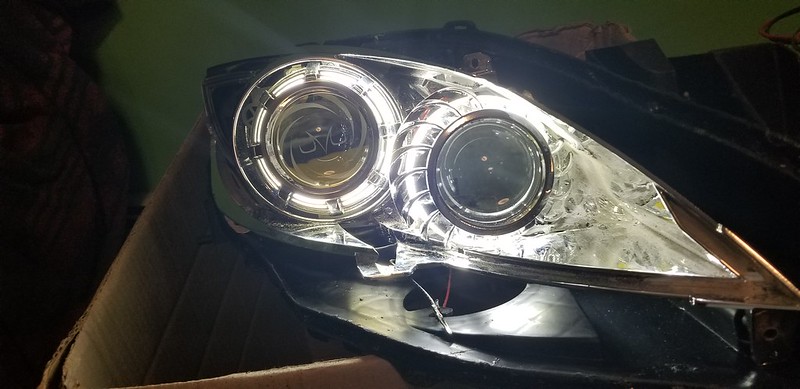 20190930_130533
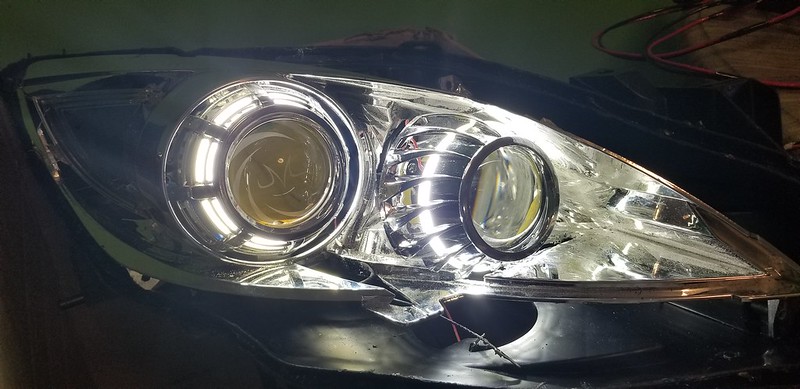 20190930_130538
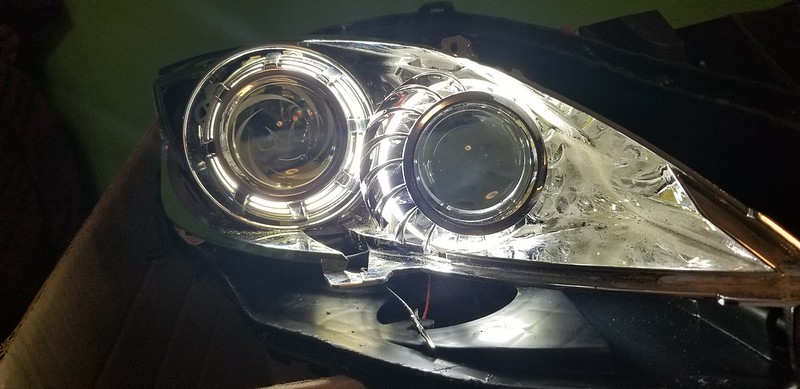 20190930_130545
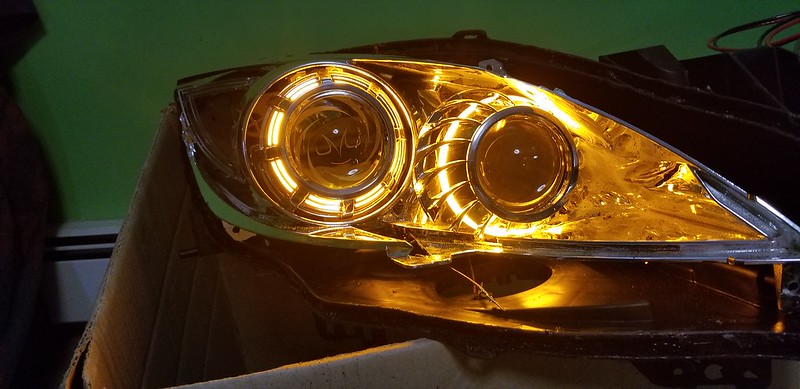 20190930_130628
 20190930_130632
 20190930_130635
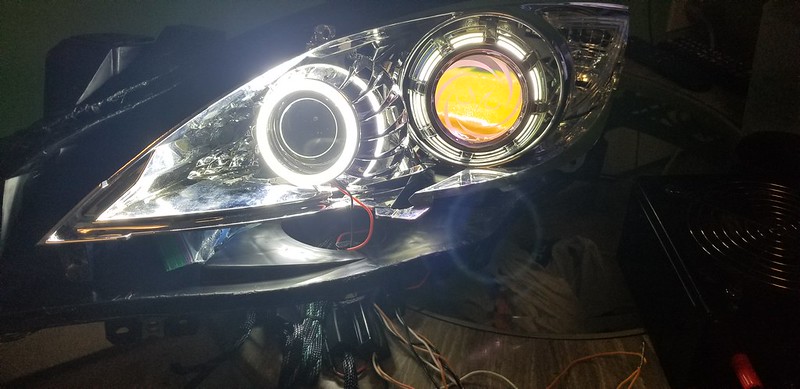 20190930_224117
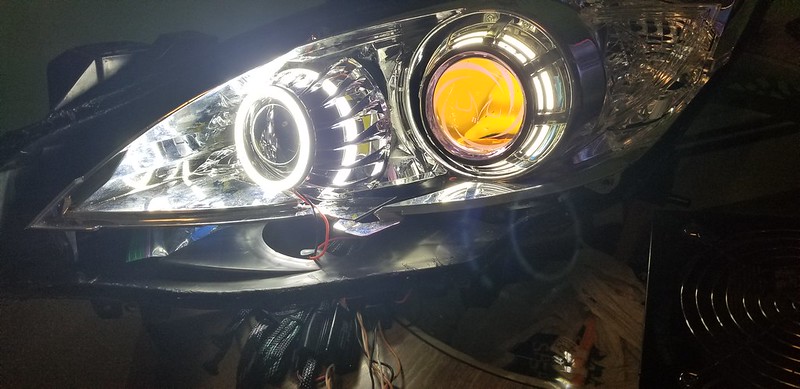 20190930_224120
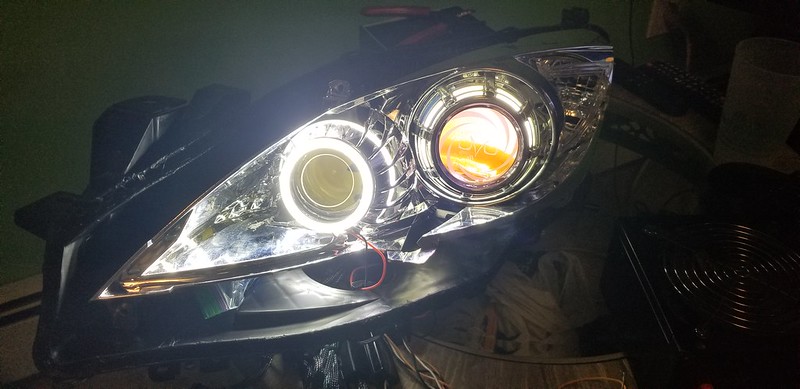 20190930_224125
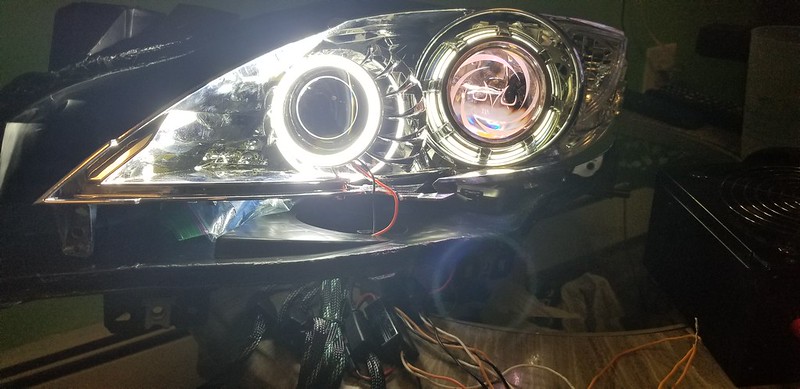 20190930_224127
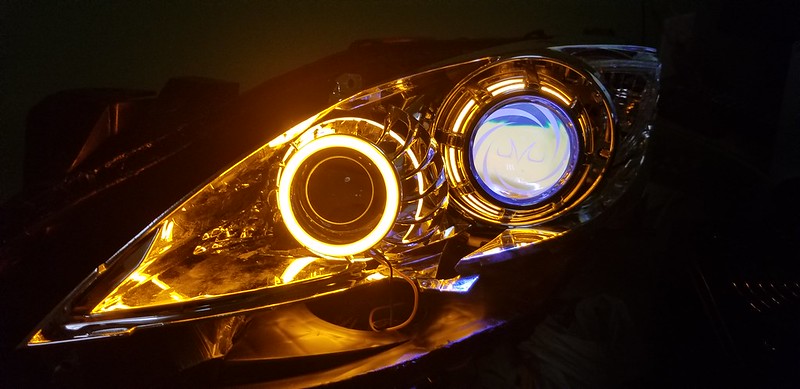 20190930_224151
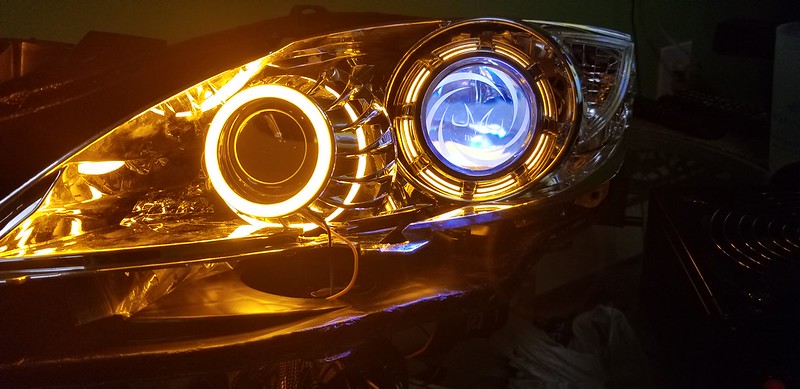 20190930_224154
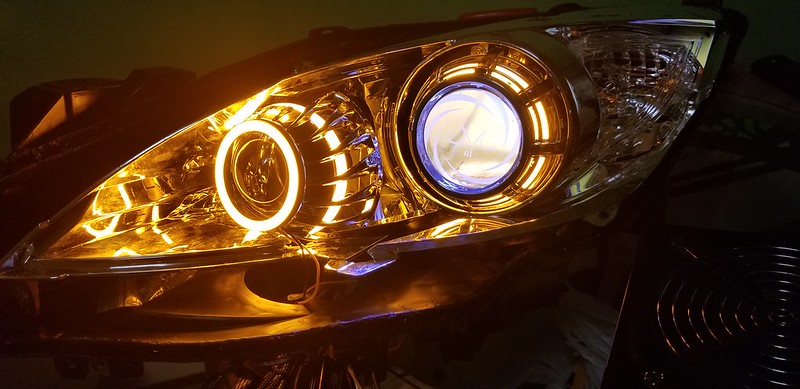 20190930_224157
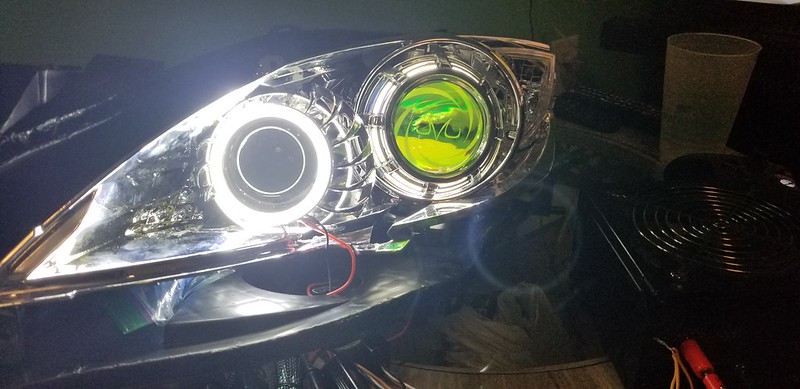 20190930_224336
 20190930_224352
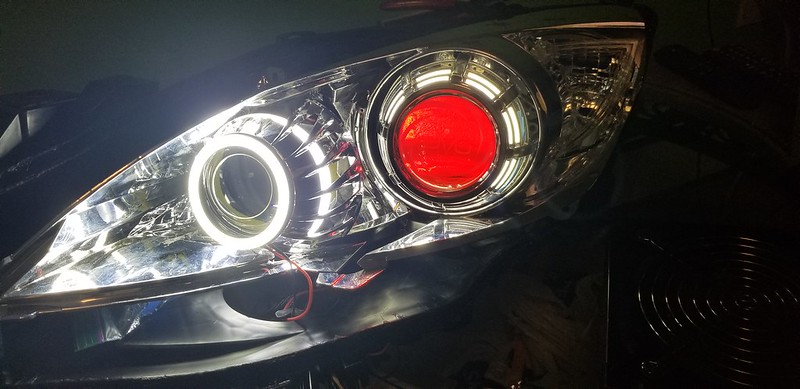 20190930_224406
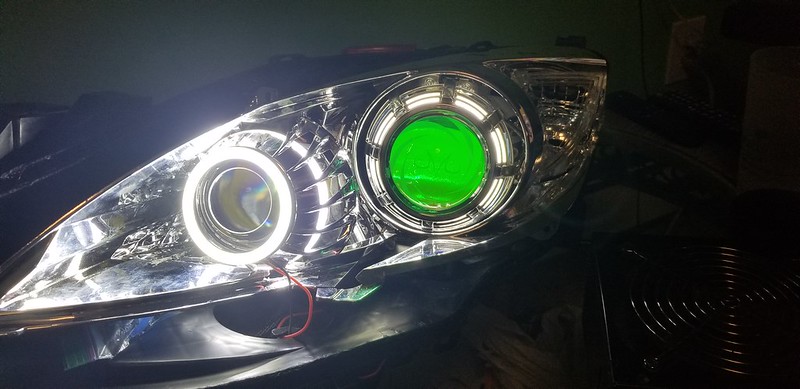 20190930_224422
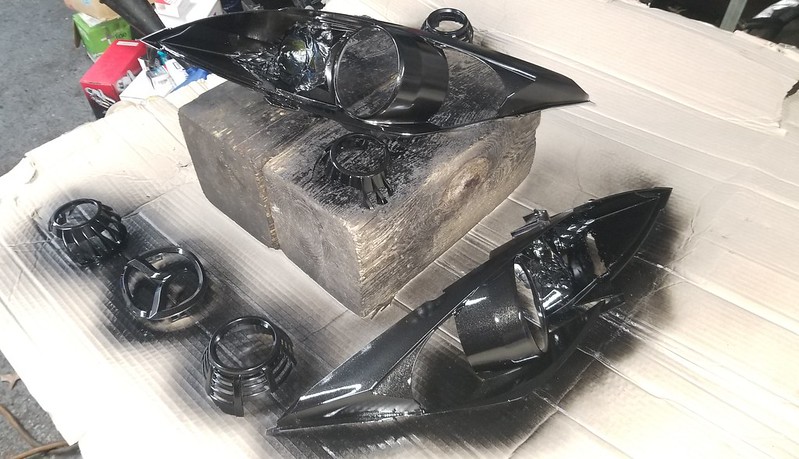 20191110_171000_resized
 20191110_171008_resized
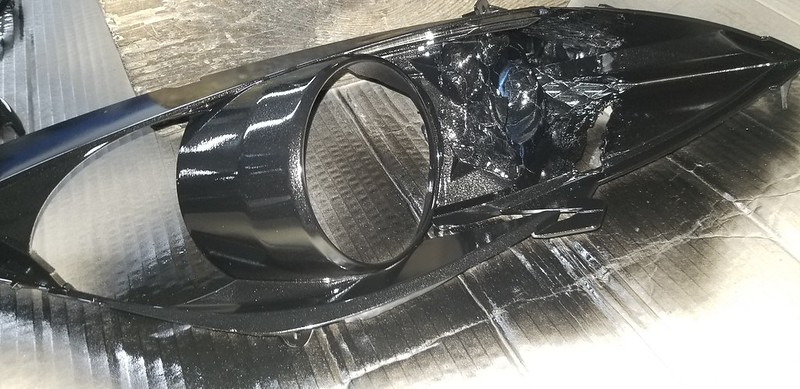 20191110_171042_resized
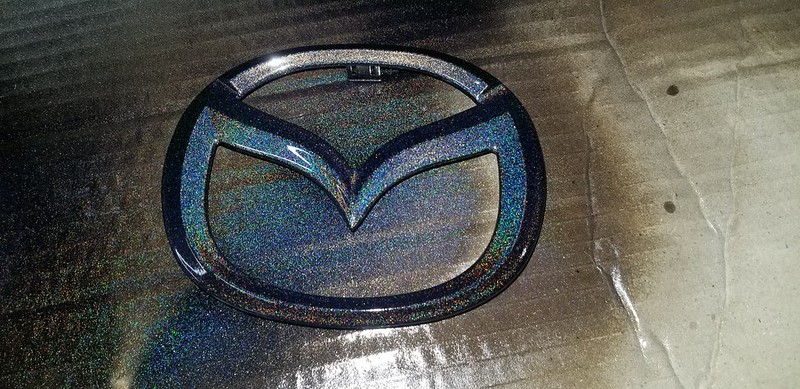 20191110_195550_resized
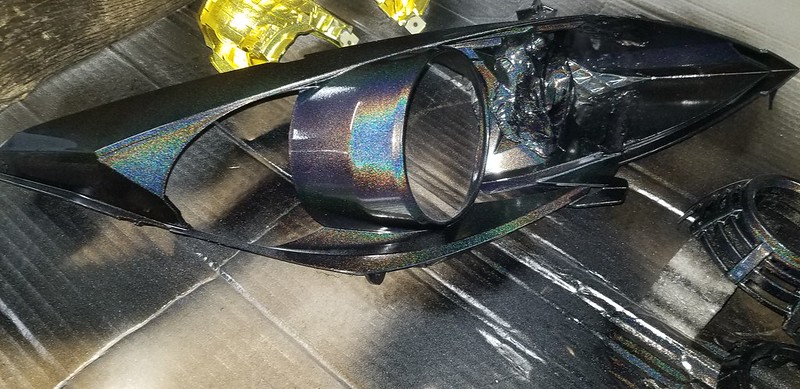 20191110_195554
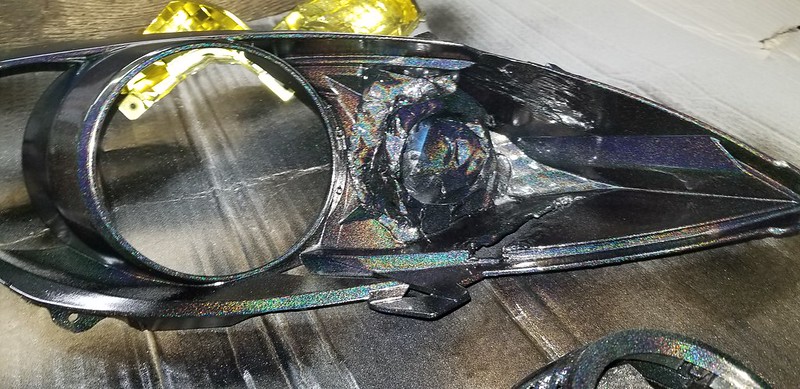 20191110_195600
 20191110_195603
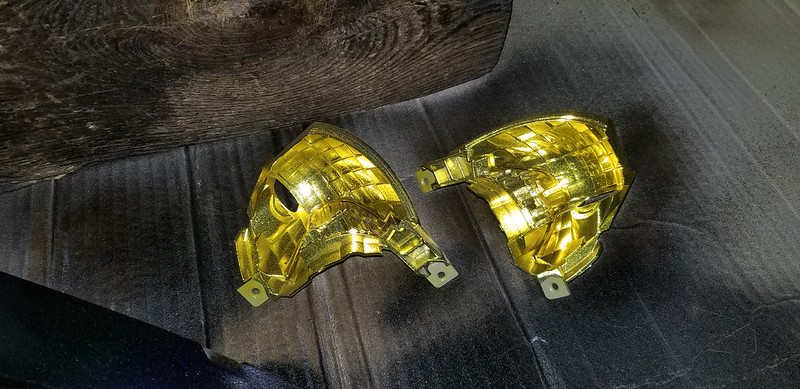 20191110_195606
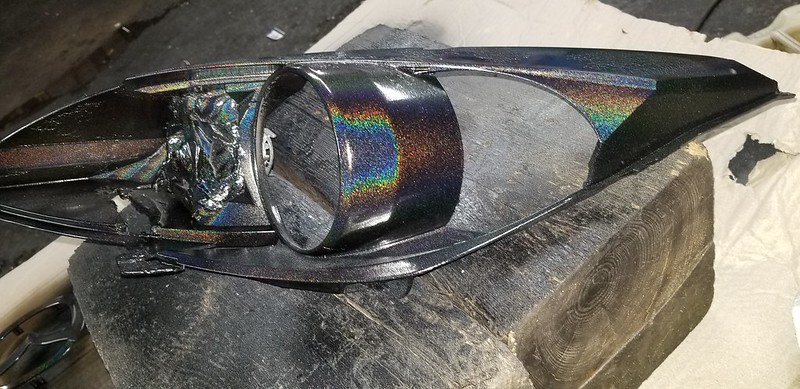 20191110_195622
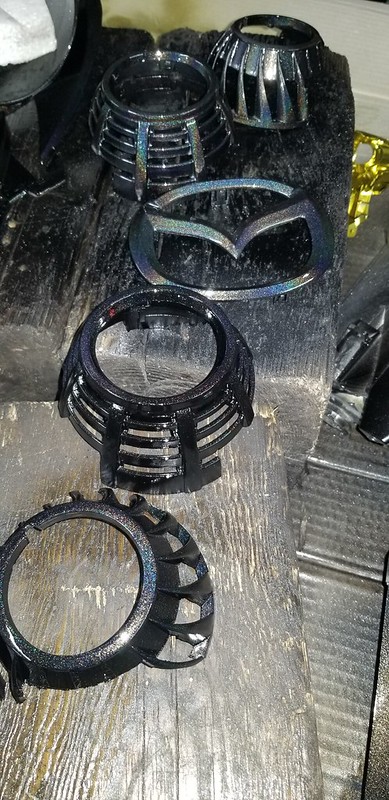 20191110_210209
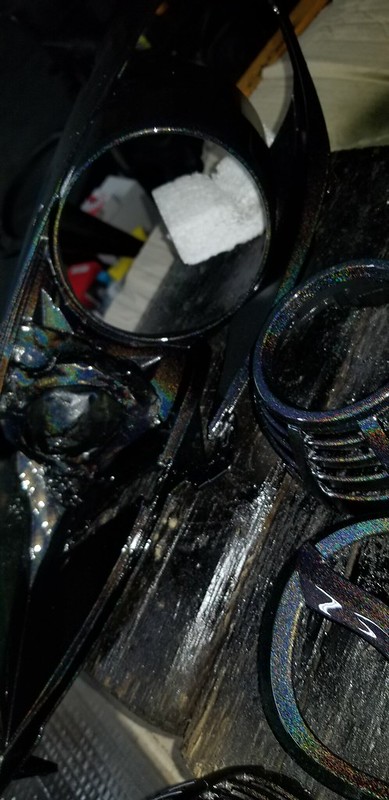 20191110_210217
 20191110_210225
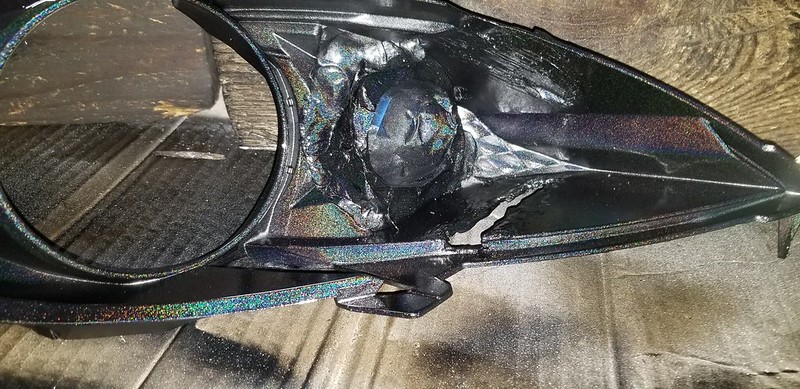 20191110_210228
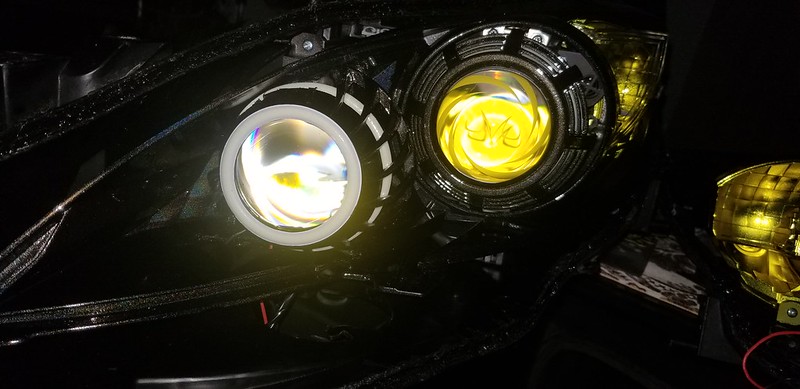 20191112_011902
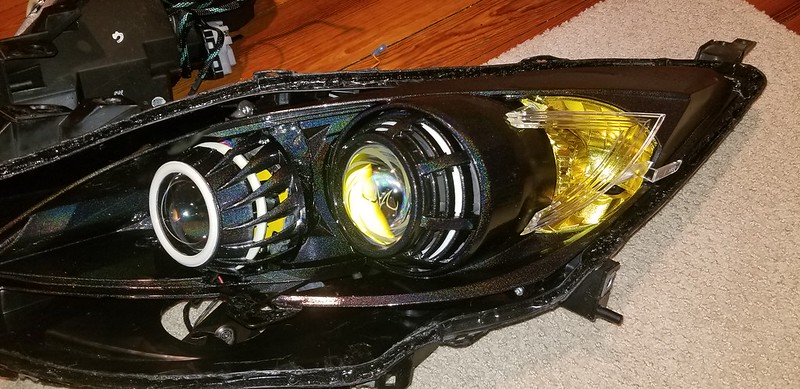 20191112_012717
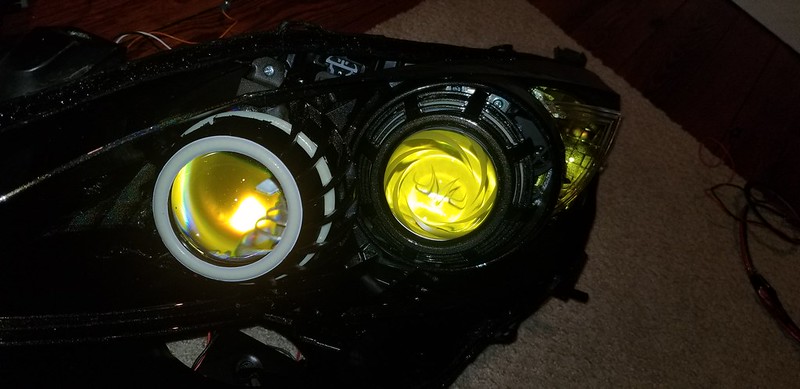 20191112_012726
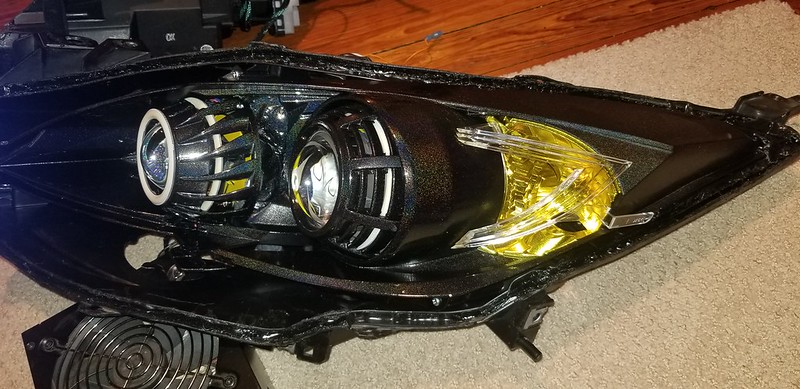 20191112_012733
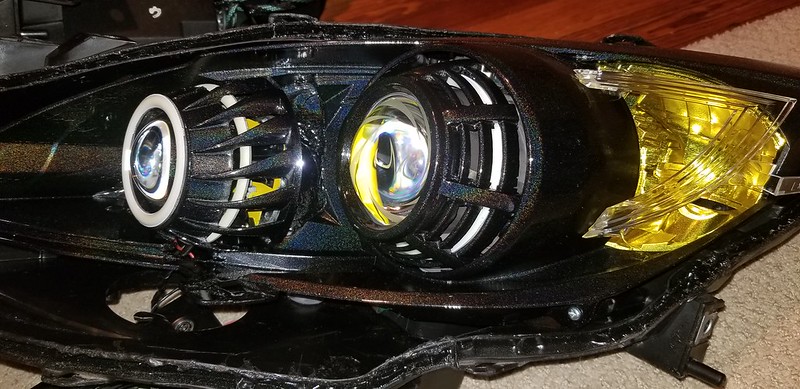 20191112_012740
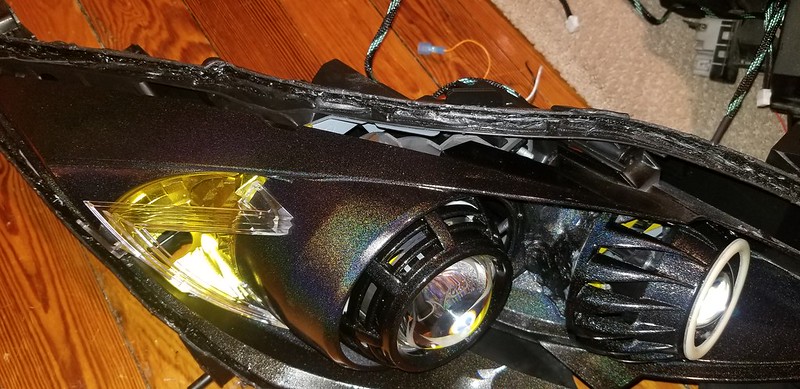 20191112_012746
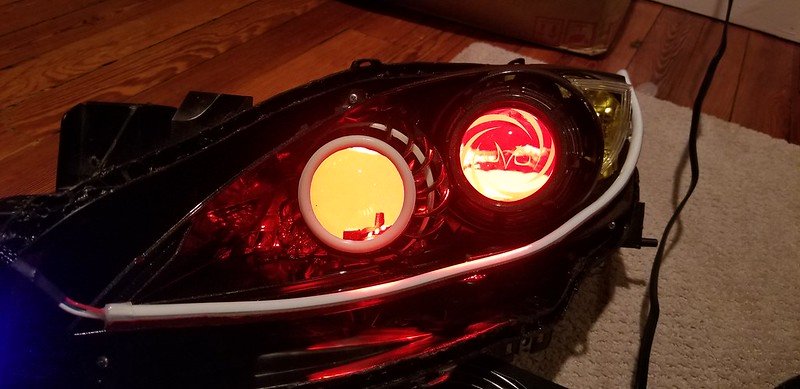 20191112_015110
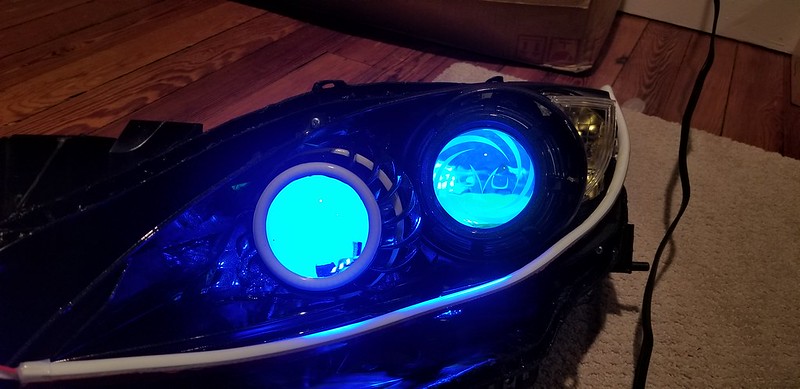 20191112_015125
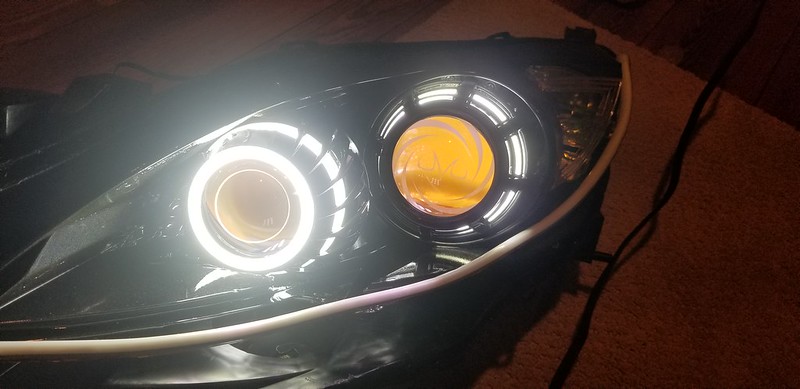 20191112_020117
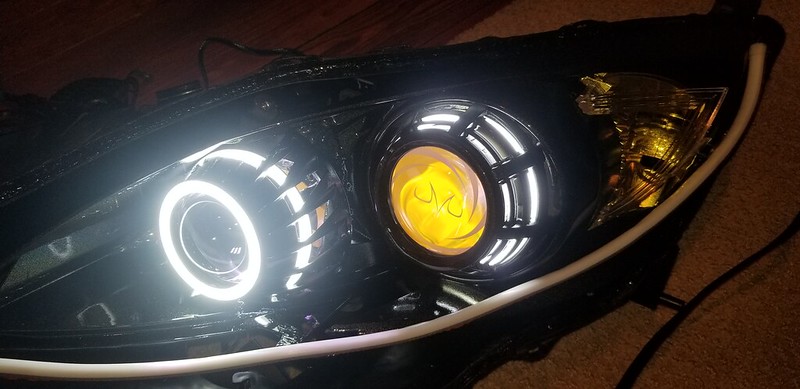 20191112_020124
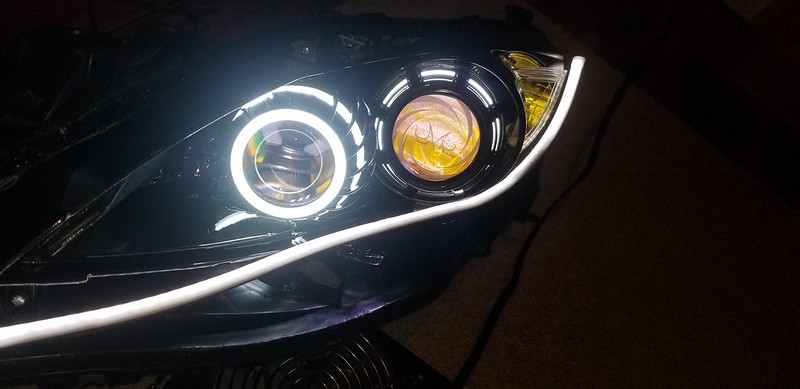 20191112_020325
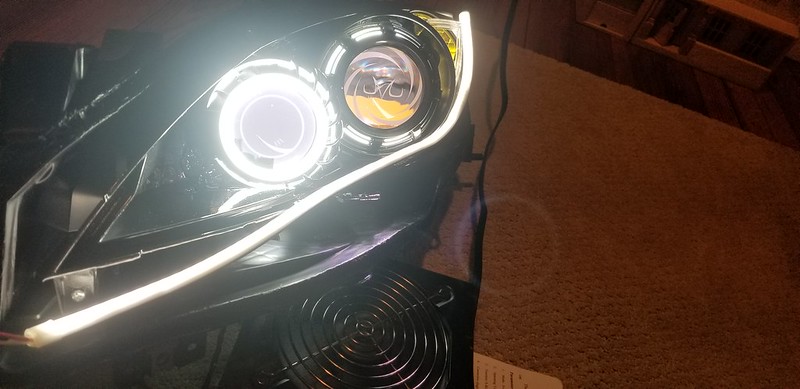 20191112_020338
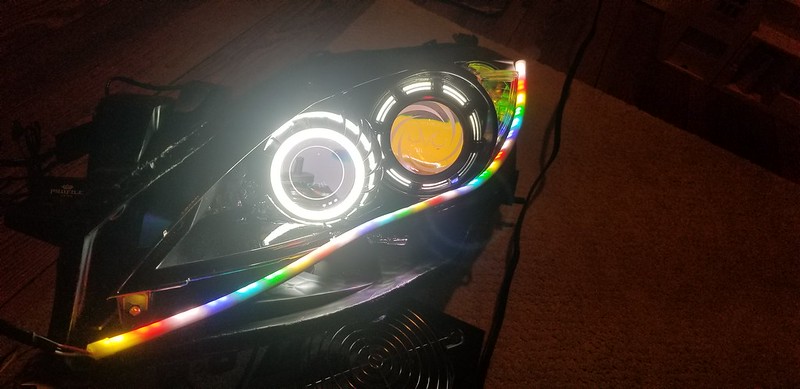 20191112_020745
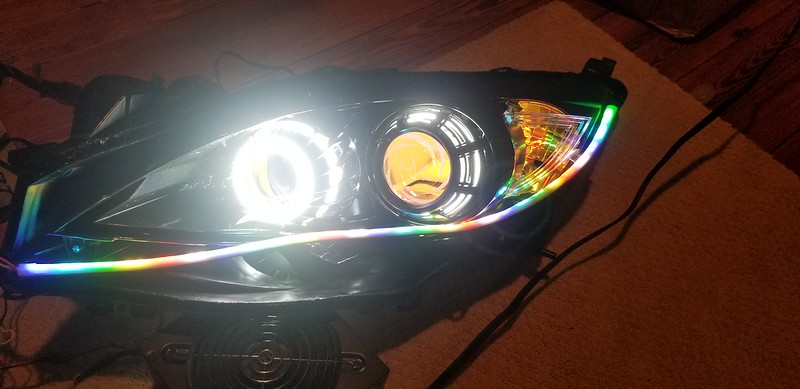 20191112_020750
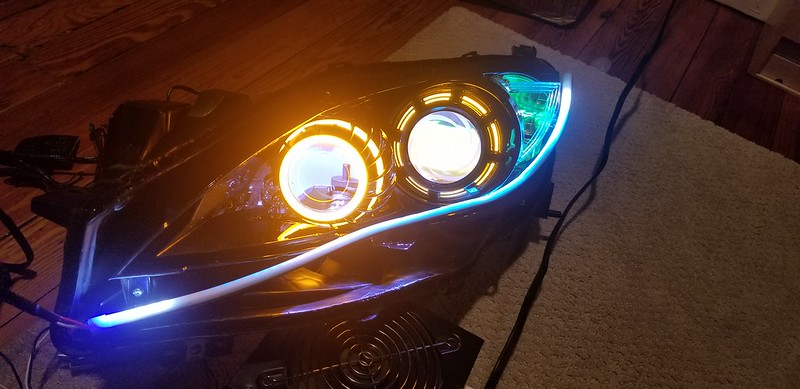 20191112_020921
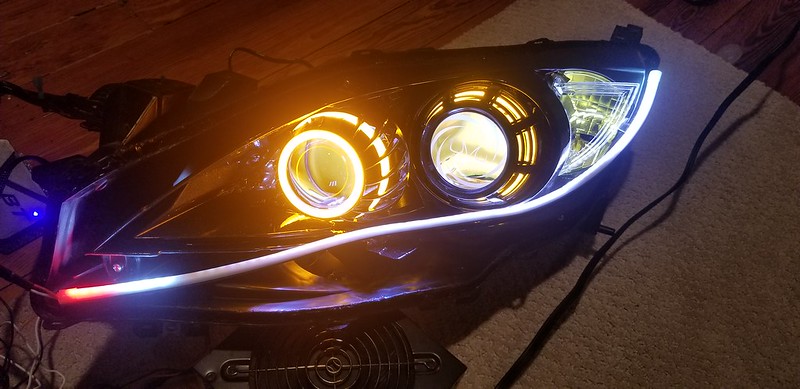 20191112_020923
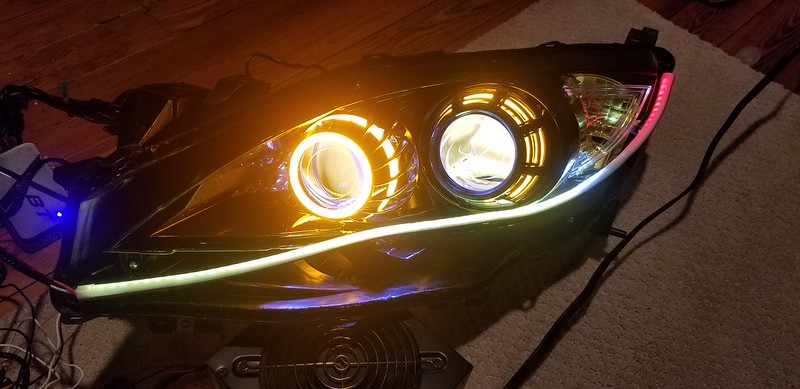 20191112_020924
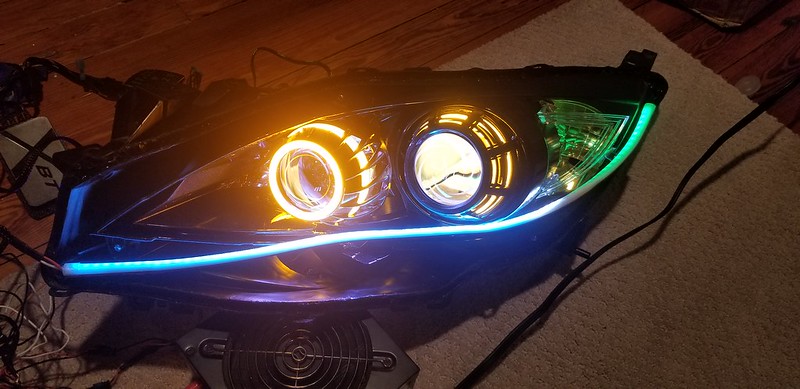 20191112_020926
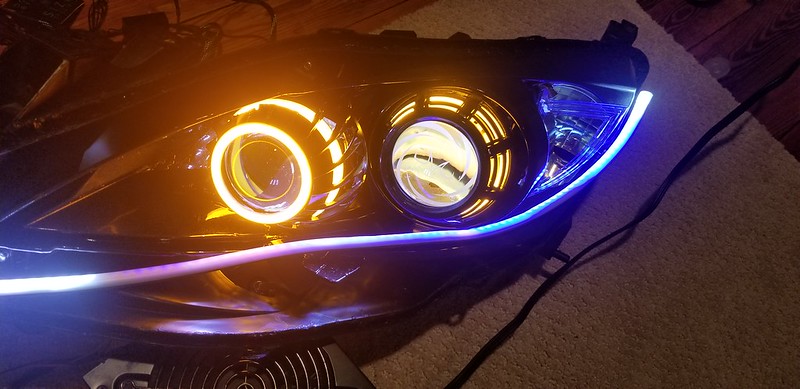 20191112_020953
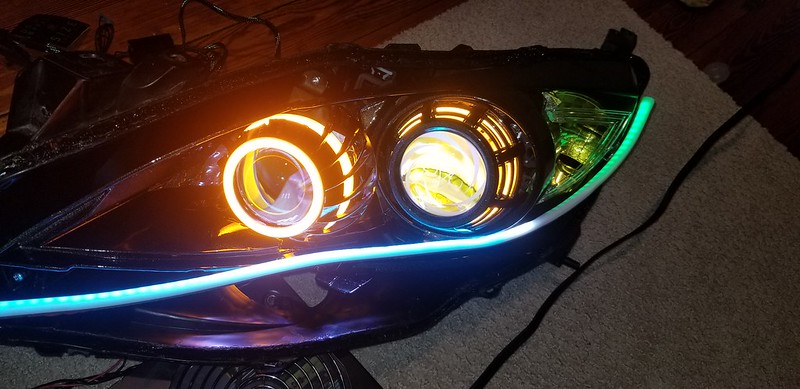 20191112_020957
 20191112_022245_31314206837999
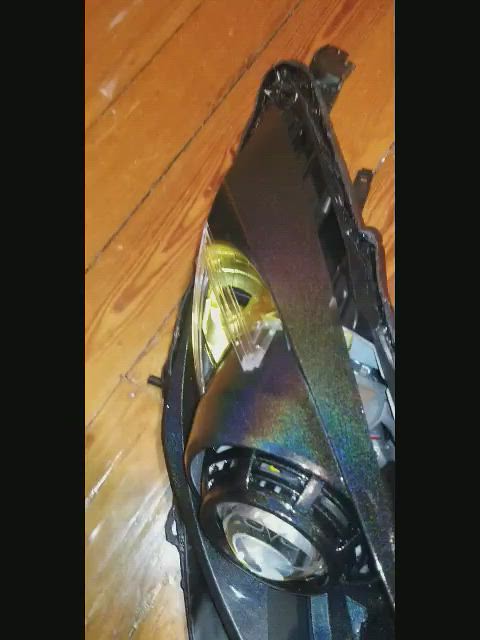 20191112_022322_31350959835277
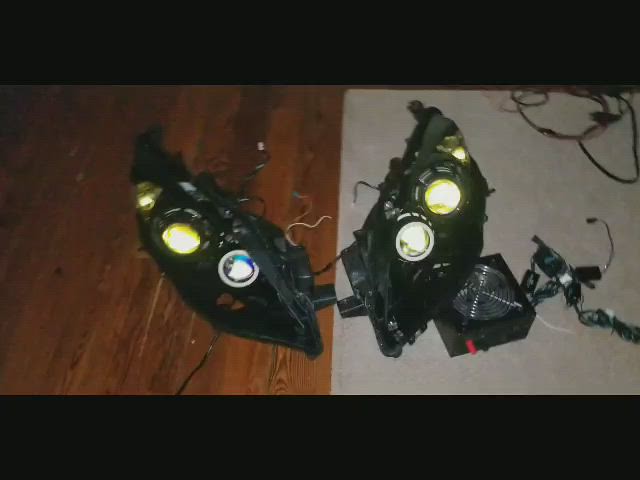 20191112_022420_31408993863015
 20191112_022458_31447359481386
 20191112_022540_31489037191891
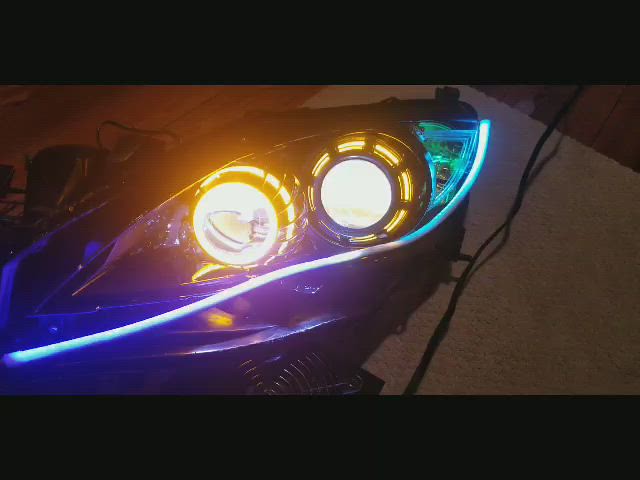 20191112_022640_31549594669524
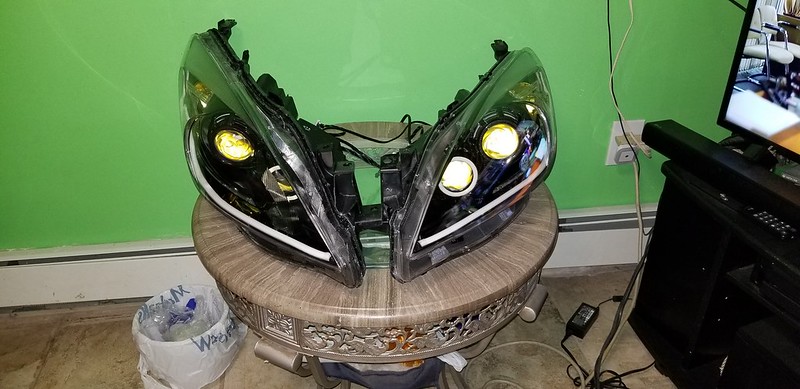 20191120_025310_resized
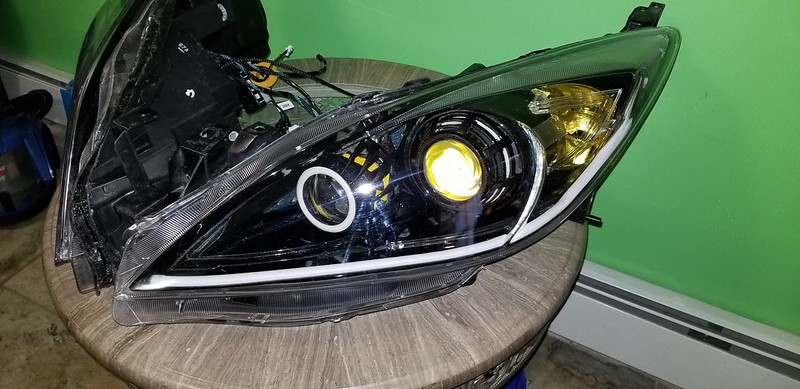 20191120_025315_resized
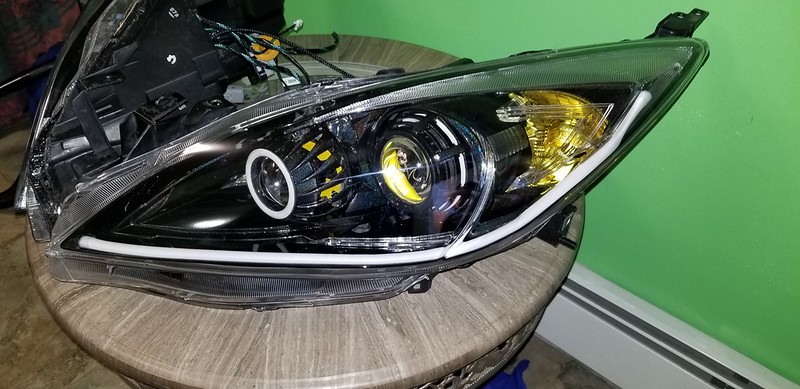 20191120_025319_resized
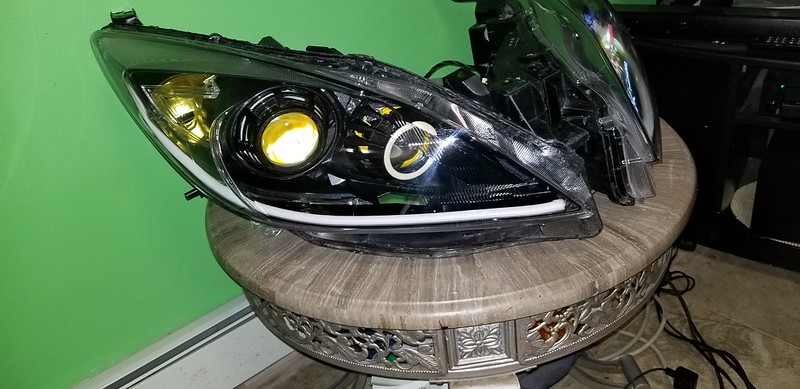 20191120_025326_resized
 20191120_025330_resized
 20191120_025511_resized
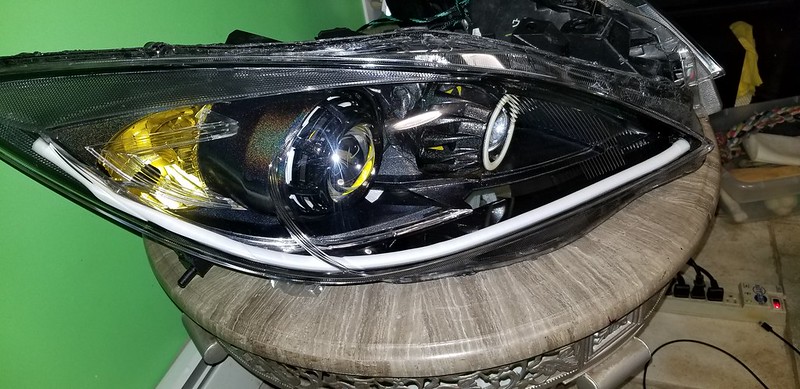 20191120_025521_resized
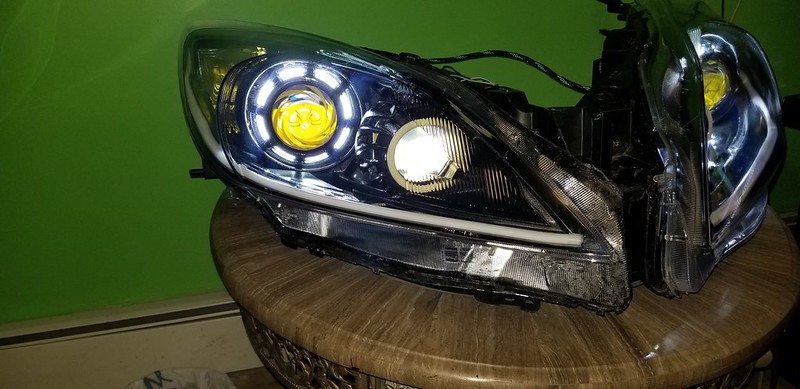 20191120_030212_resized
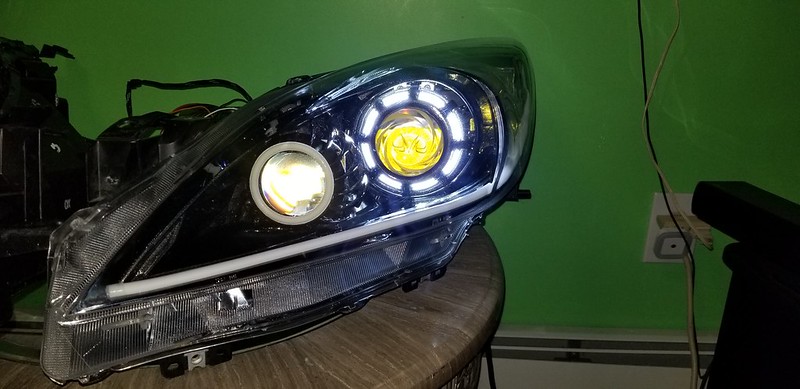 20191120_030215_resized
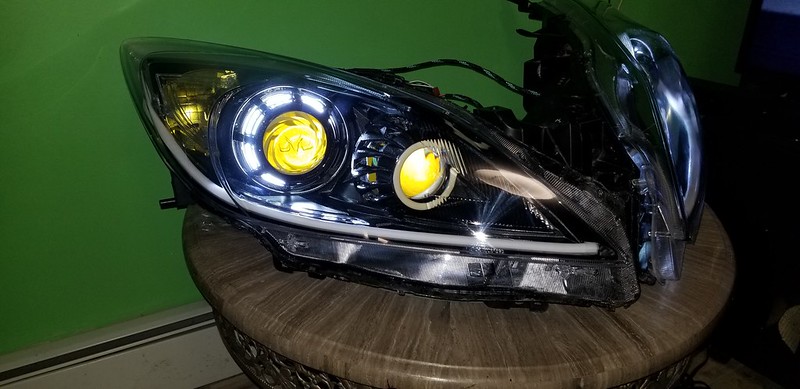 20191120_030228_resized
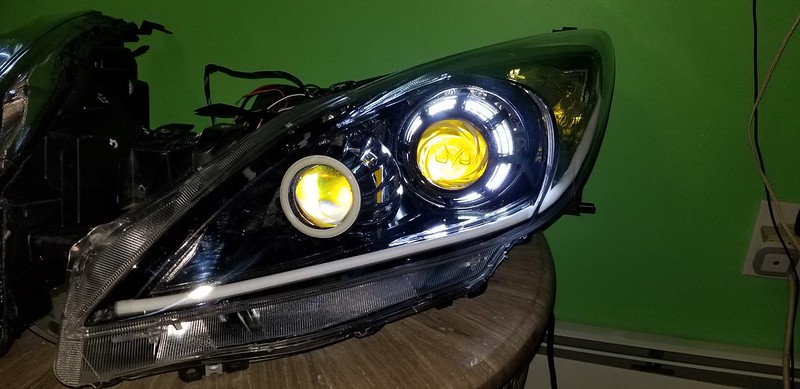 20191120_030234_resized
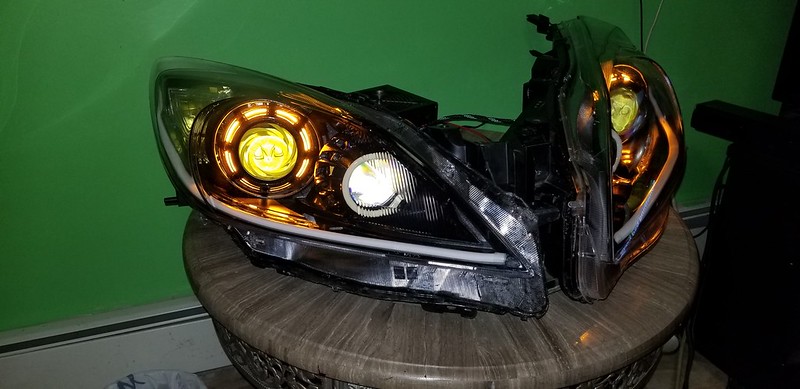 20191120_030421_resized
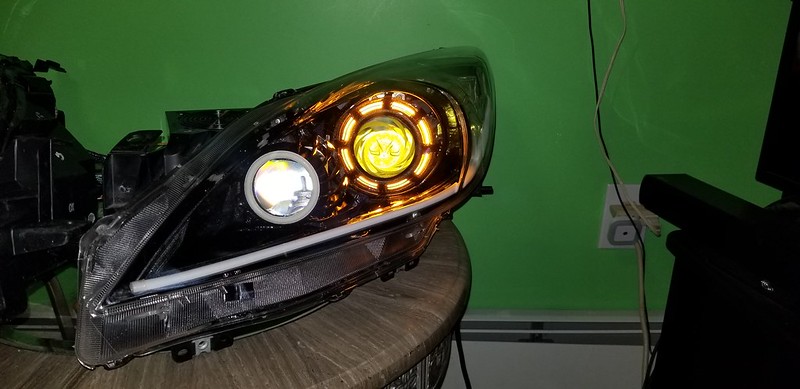 20191120_030424_resized
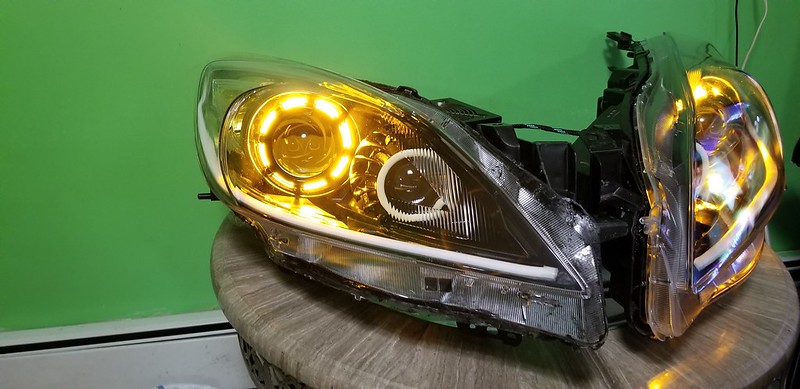 20191120_030433_resized
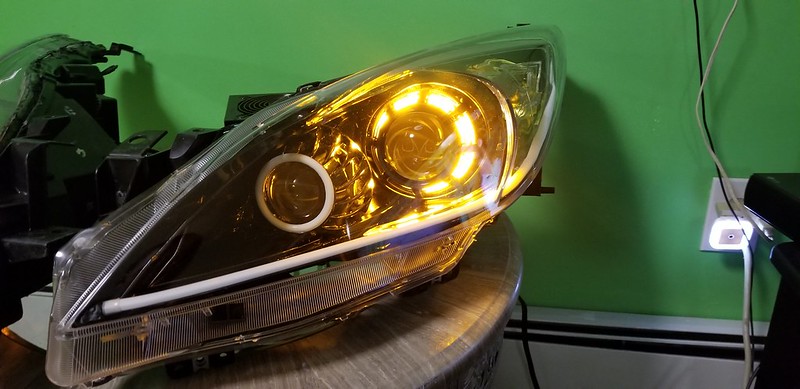 20191120_030436_resized
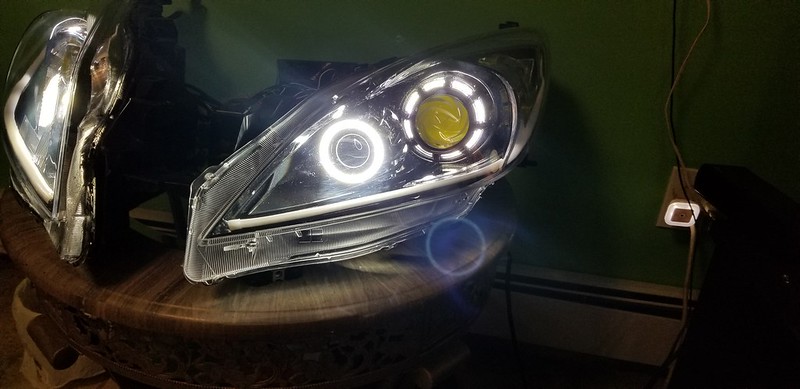 20191120_030638_resized
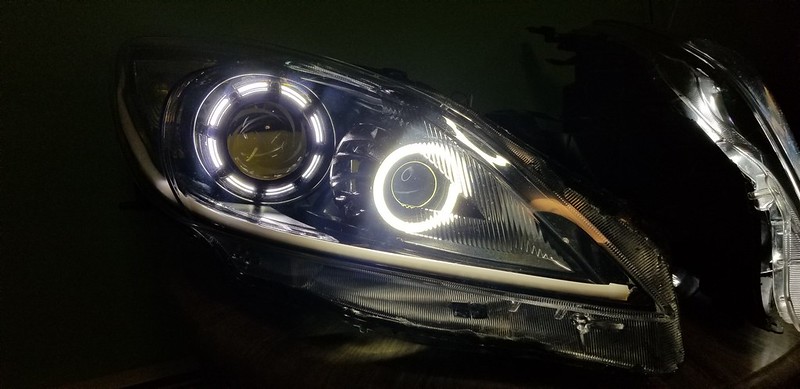 20191120_030642_resized
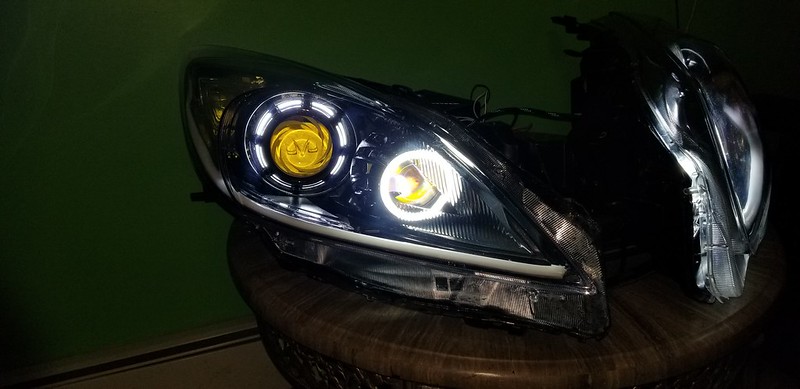 20191120_030648_resized
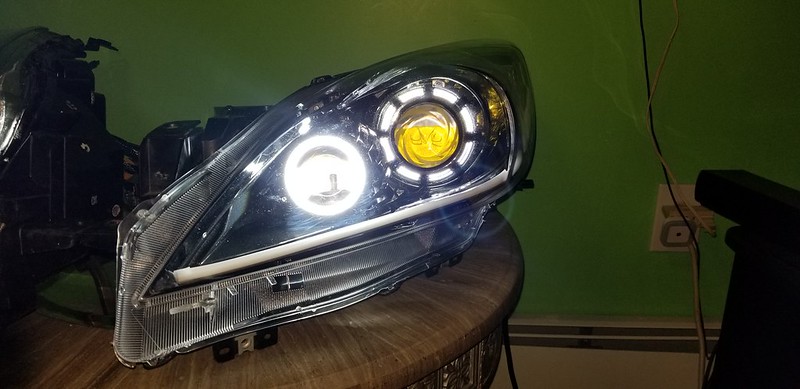 20191120_030652_resized
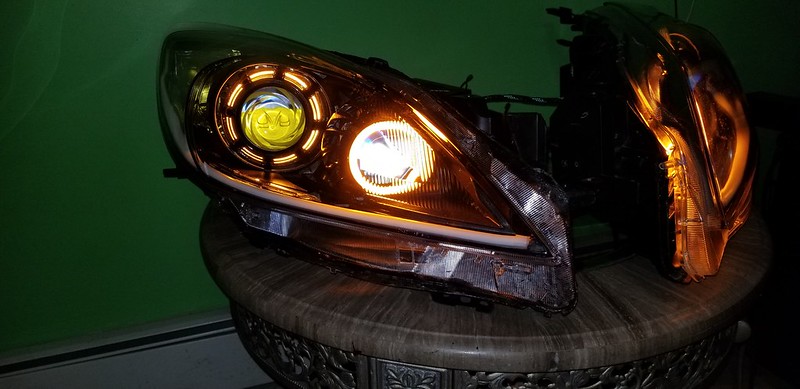 20191120_030759_resized
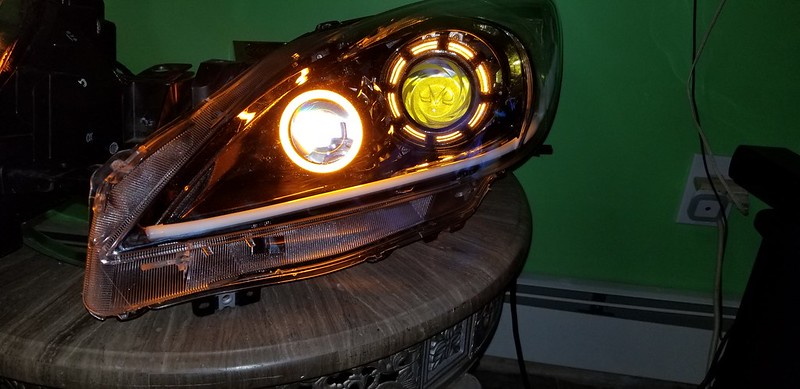 20191120_030803_resized
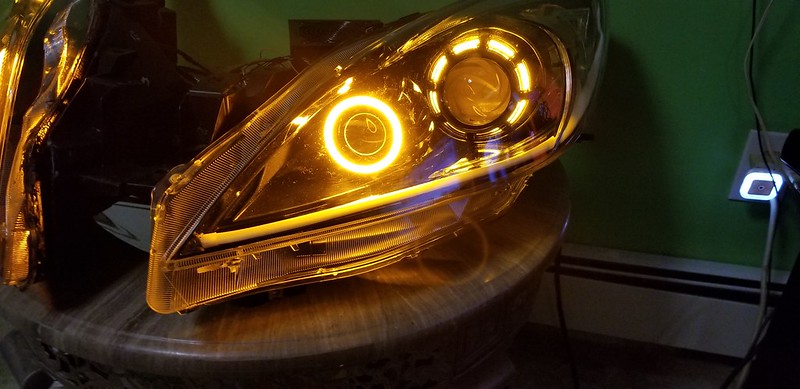 20191120_030811_resized
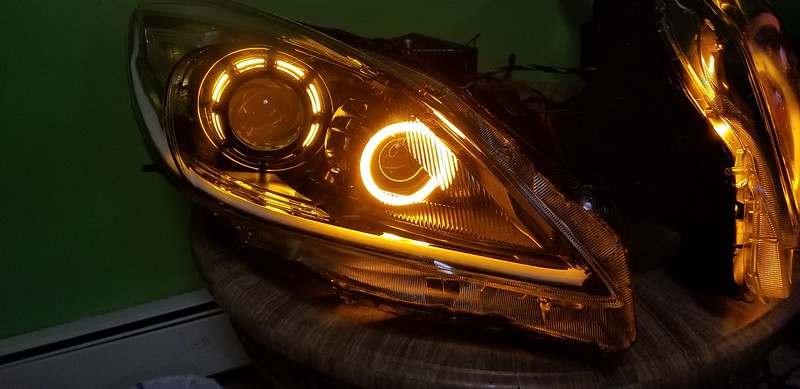 20191120_030815_resized
 20191120_031458_resized
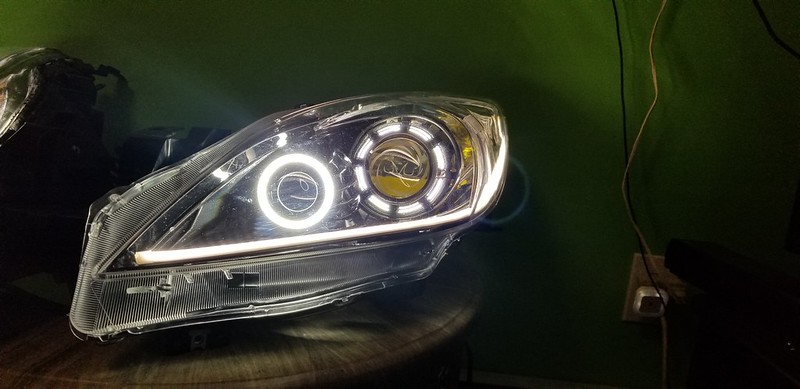 20191120_031503_resized
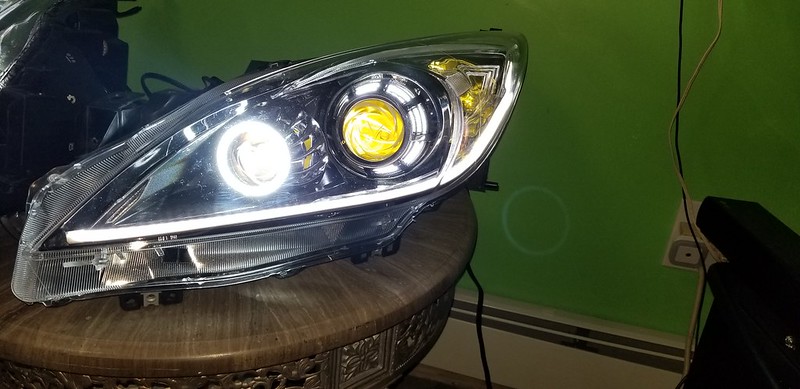 20191120_031509_resized
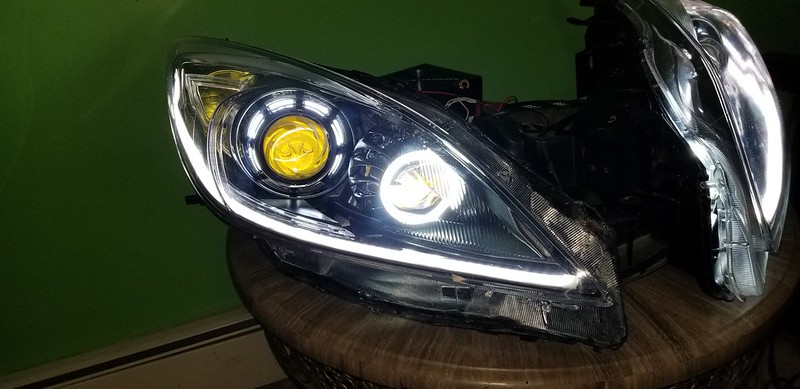 20191120_031516_resized
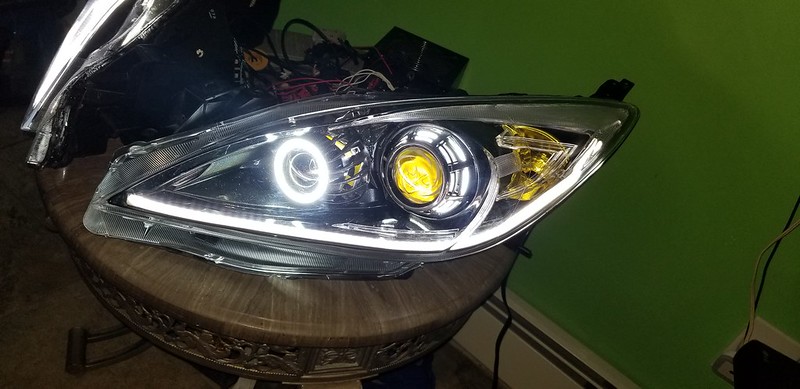 20191120_031548_resized
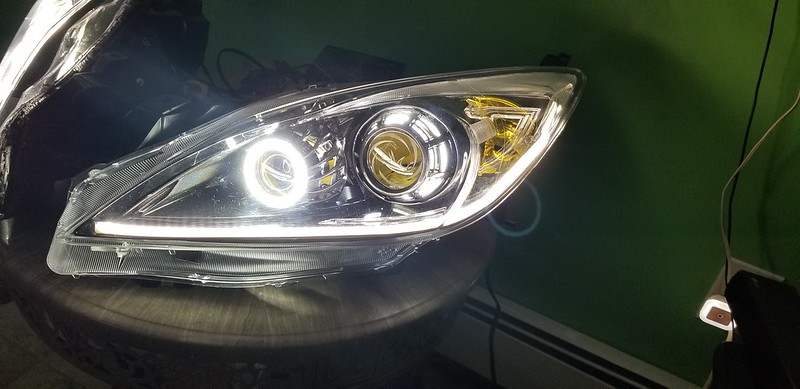 20191120_031602_resized
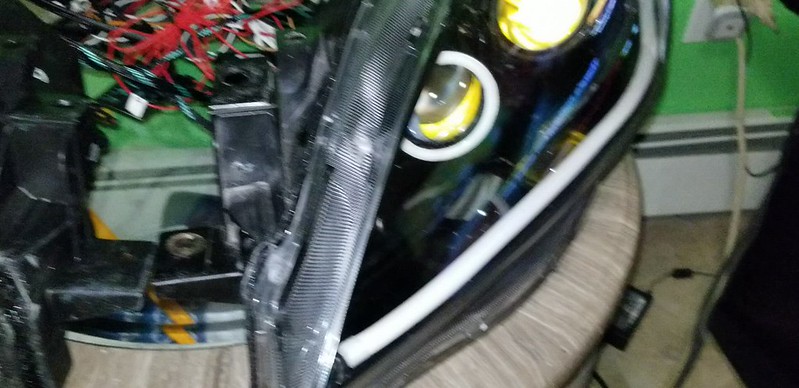 20191120_031850 (1)
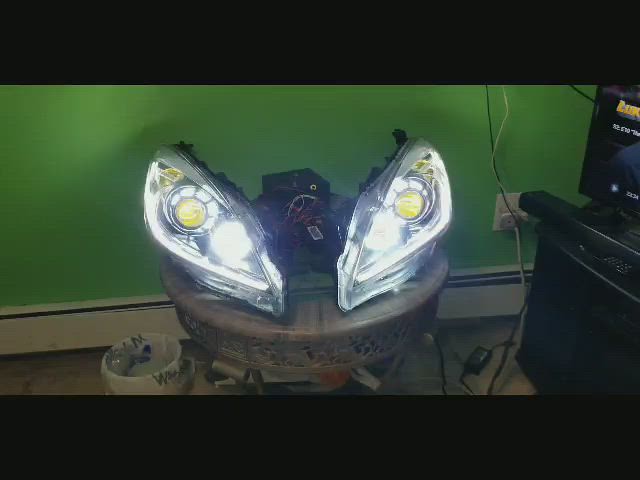 20191120_135952_14027502399908
 20191120_140133_14128159163463
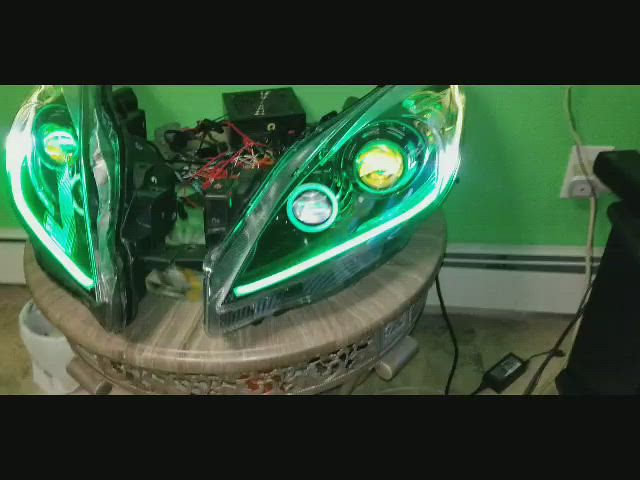 20191120_140153_14148852558195
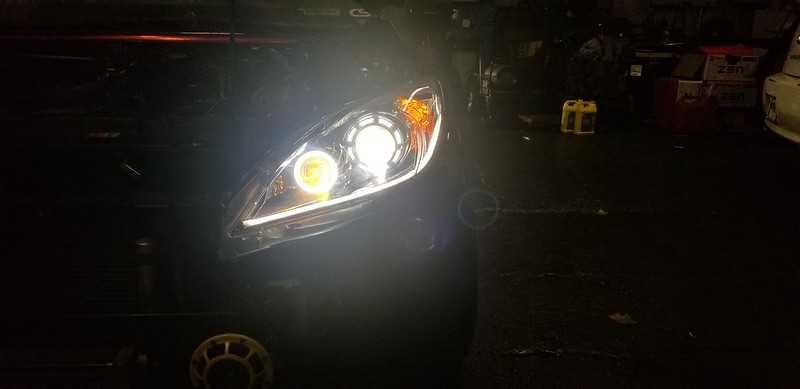 20191127_210828_resized
 20191127_210854_resized
 20191127_214233_resized
 20191127_214239_resized
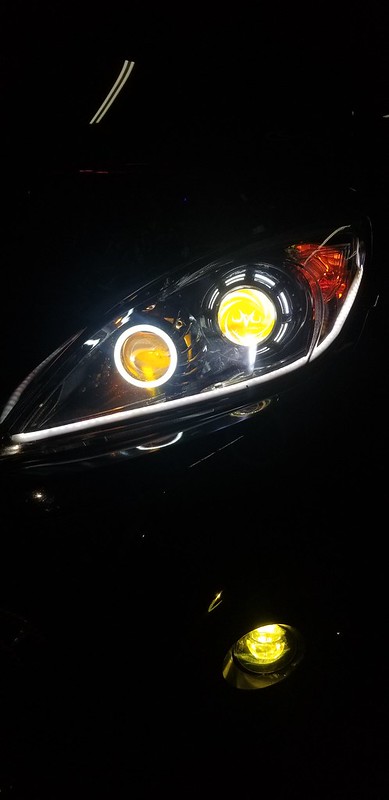 20191127_214344_resized
 20191127_214457_resized_1
 20191127_214522_resized_1
 20191127_215415_resized_1
 20191127_215424_resized
 20191127_215427_resized
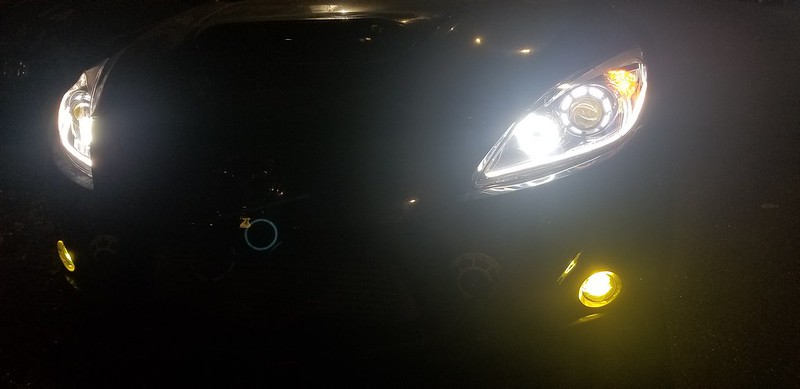 20191127_220129_resized
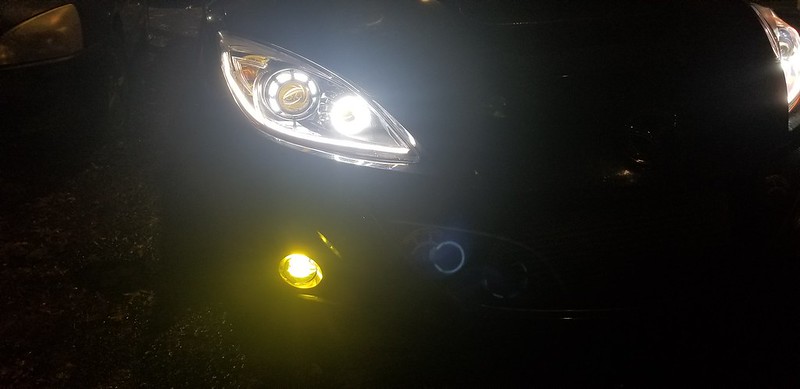 20191127_220133_resized
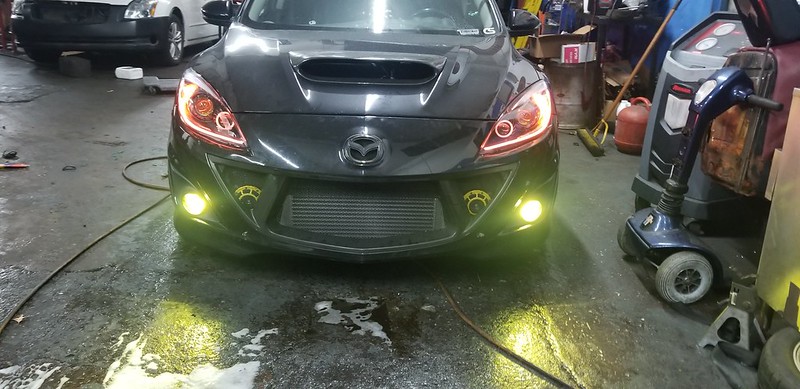 20191127_222558_resized_1
 20191127_222604_resized_1
 20191127_222605_resized_1
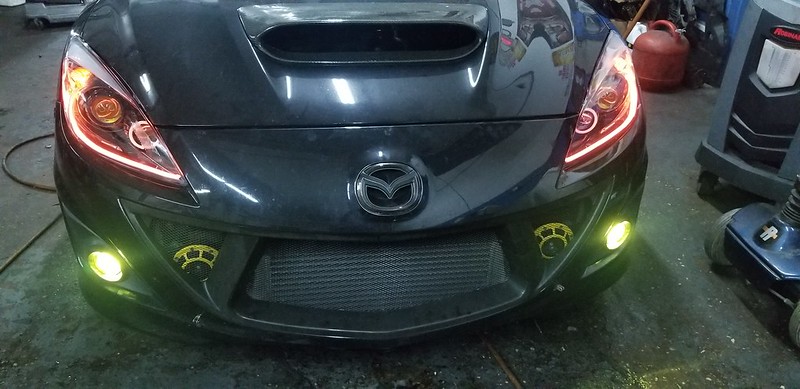 20191127_222613_resized
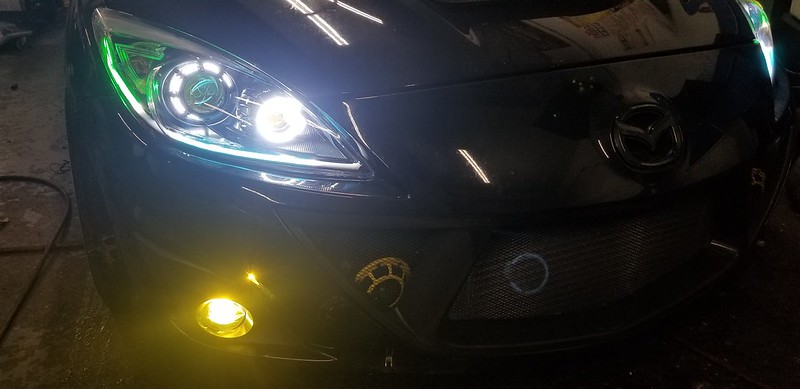 20191127_223009_resized_1
 20191127_223722_resized
 20191127_223728_resized
 20191127_223746_resized_2
 20191127_224421_resized_2
 20191130_130639_resized_1
 20191130_130721_resized_2
 20191130_130730_resized_2
 20191130_130748_resized_2
 20191202_203729_resized_1
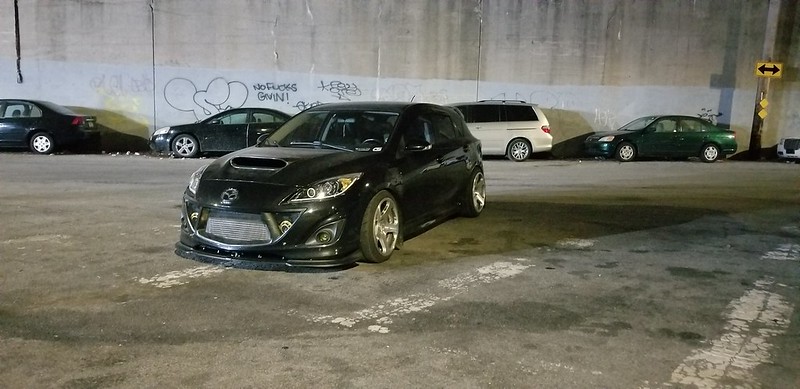 20191205_172527_resized
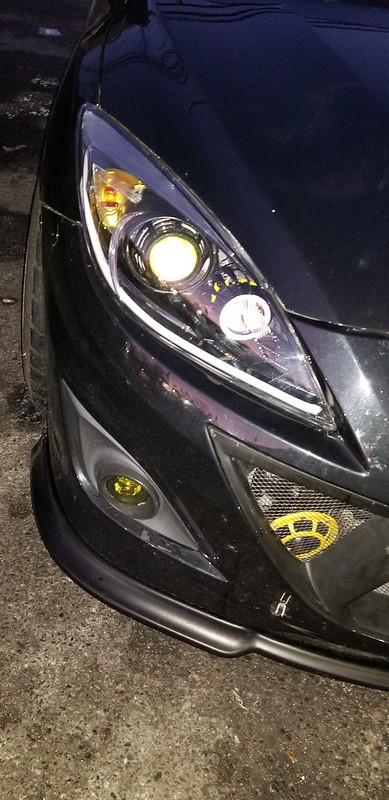 20191211_165155_resized
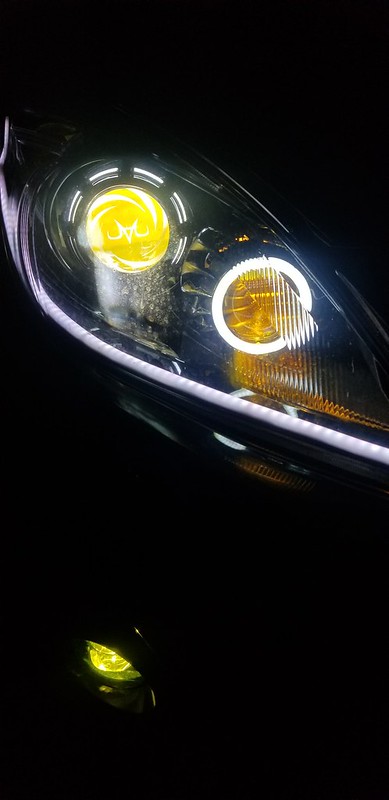 20191211_221510_resized
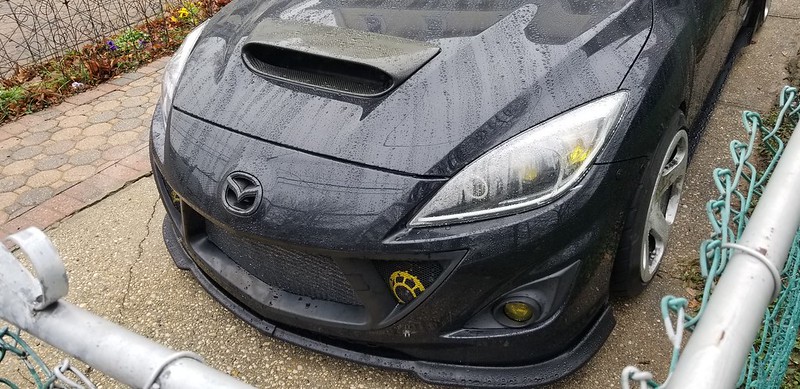 20191214_104413_resized
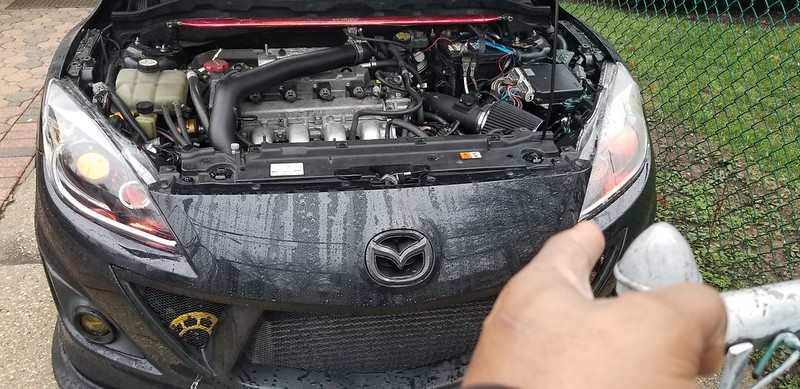 20191214_151717_resized
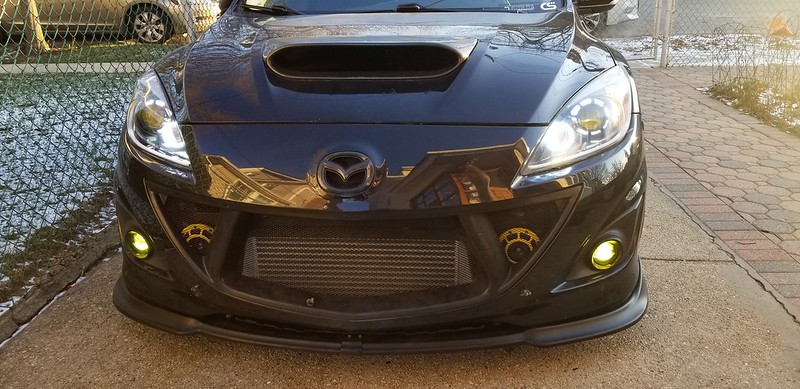 20191220_080420_resized
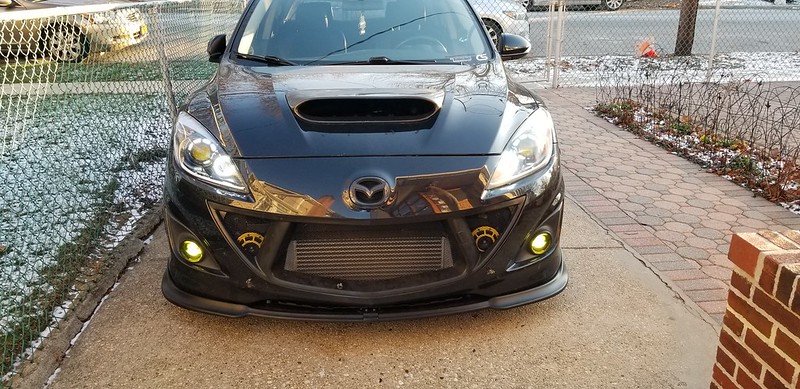 20191220_080429_resized
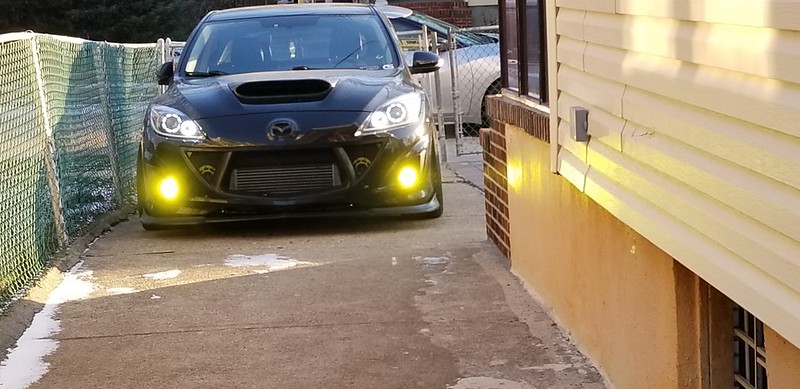 20191220_080542_resized
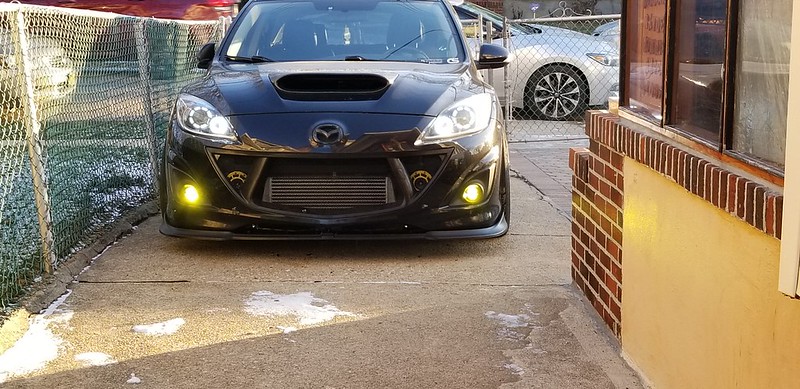 20191220_080550_resized
 received_559830794794187
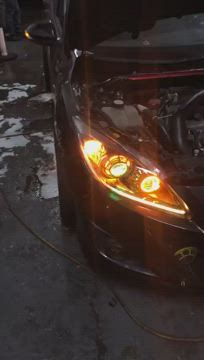 received_1203053016553414
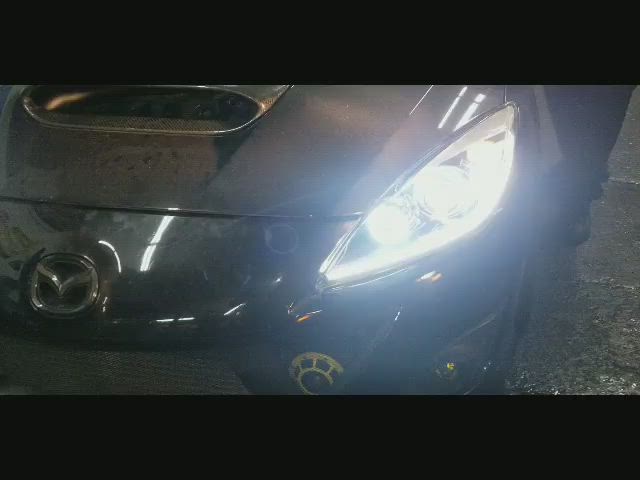 20200110_160236_51000009967573
 20200110_160441_51125485185285
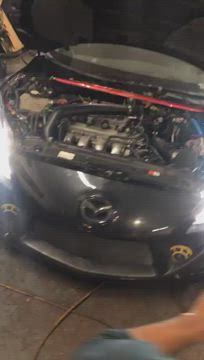 received_430720330946590


