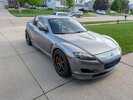
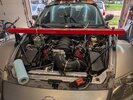
LS RX8 Build - Project Doritno

is that just a replacement center section for the axles? so you just rebuild the explorer ones and are good to go? thats pretty slick if that is the case
 
is that just a replacement center section for the axles? so you just rebuild the explorer ones and are good to go? thats pretty slick if that is the case
You rebuild the axles , rx8 on the hub side and explorer on the diff side. This is the reason I needed the axles from the junk yard too. They have a lifetime warranty on their cv axles so if it brakes they send you a new center section. You also need to weld their section to the existing subframe which also stiffens up the subframe a lot. This will allow be to get rid of the PPF "power plant frame" that connects the trans to the diff. I will need to fab a trans mount but that does not look too hard. I could in theory run true dual exhaust if I wanted with the new space u there. It is a pretty cool setup and should handle way more power than I will be making. The have really nice instructions. http://www.hottubsippinbubbly.com/Ronin/RX888install.pdf
 
Update:

Fuel System: Complete
Parts
I put the fitting on the top hat but after the fact I should have put it on the other side as the fittings are too tall and I had to rotate it to get it to not hit the seat cover. Works fine but just a heads up.
View attachment 33125

I trimmed the return hose a bit to get it into the basket and it seems to like it as I was able to set 58 psi and it is stable.
View attachment 33126
This is pure overkill but I had this piece of AL sitting around and it worked to mount the FPR. You could probably hang the motor off this mount.
View attachment 33129
It's all back together and no leaks.
View attachment 33131

Alternator:
When the car first started up the alternator was working but after a few weeks it would do this weird thing where it would only work after I revved the car to 2k and then it was fine. Well a few weeks later it just stopped charging. I ordered and ebay special and it seems to work great. It has enough amps to run 3 of these cars so I should be fine.

Parts

View attachment 33128

Intake:

Parts
View attachment 33132
View attachment 33134

I was able to make a heat shield to keep the radiator/motor/oil cooler heat away from the intake. I also got the IAT sensor close to the filter. Car seems happy and the Intake Air Temps are more accurate to what the engine is actually seeing now and not just heat soak.
View attachment 33137
View attachment 33138
View attachment 33136

Bonus:

Used some license plates to make a heatshield where the fuel and brake lines get closer to the exhaust.
View attachment 33133
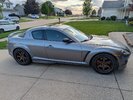
Great information, I am in the beginning phase of LS swapping our RX8 and your build info has been a huge help. For the fuel lines, did you hook up the blue vapor line and if so, where did you connect it to the LS setup? I thought I was going to get away with just upgrading the fuel pump and using the stock RX8 fuel lines, but all threads lead to running new lines and adding a regulator.
 
I believe I just cut it further back and capped off the vapor line. I haven't noticed any issues. I used the RX8 oem main feed line as a return line and did my own ptfe 6an line for the feed from the pump to the regulator. I also thought about keeping it stock lines but it was really not crazy spendy to do the ptfe lines and a regulator and at the end of the day it is the right way to do it.
 
Last edited:
Smol Update:

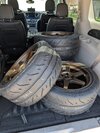
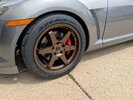
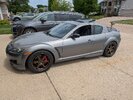
Wheels and tires are on. Happy with how they turned out. Still needs an alignment. I did raise the front up as well , the default height on the meisters was super low. Not sure if it is where I like it yet or not but it is easy to adjust.

FALKEN - AZENIS RT660+ 255 /40 R18 99W XL BSW
18x9.5 Bronze Wheels Vors TR37 5x114.3 35 (Set of 4) 73.1

PXL_20260507_235137101.MP.jpgPXL_20260507_235130037.jpg

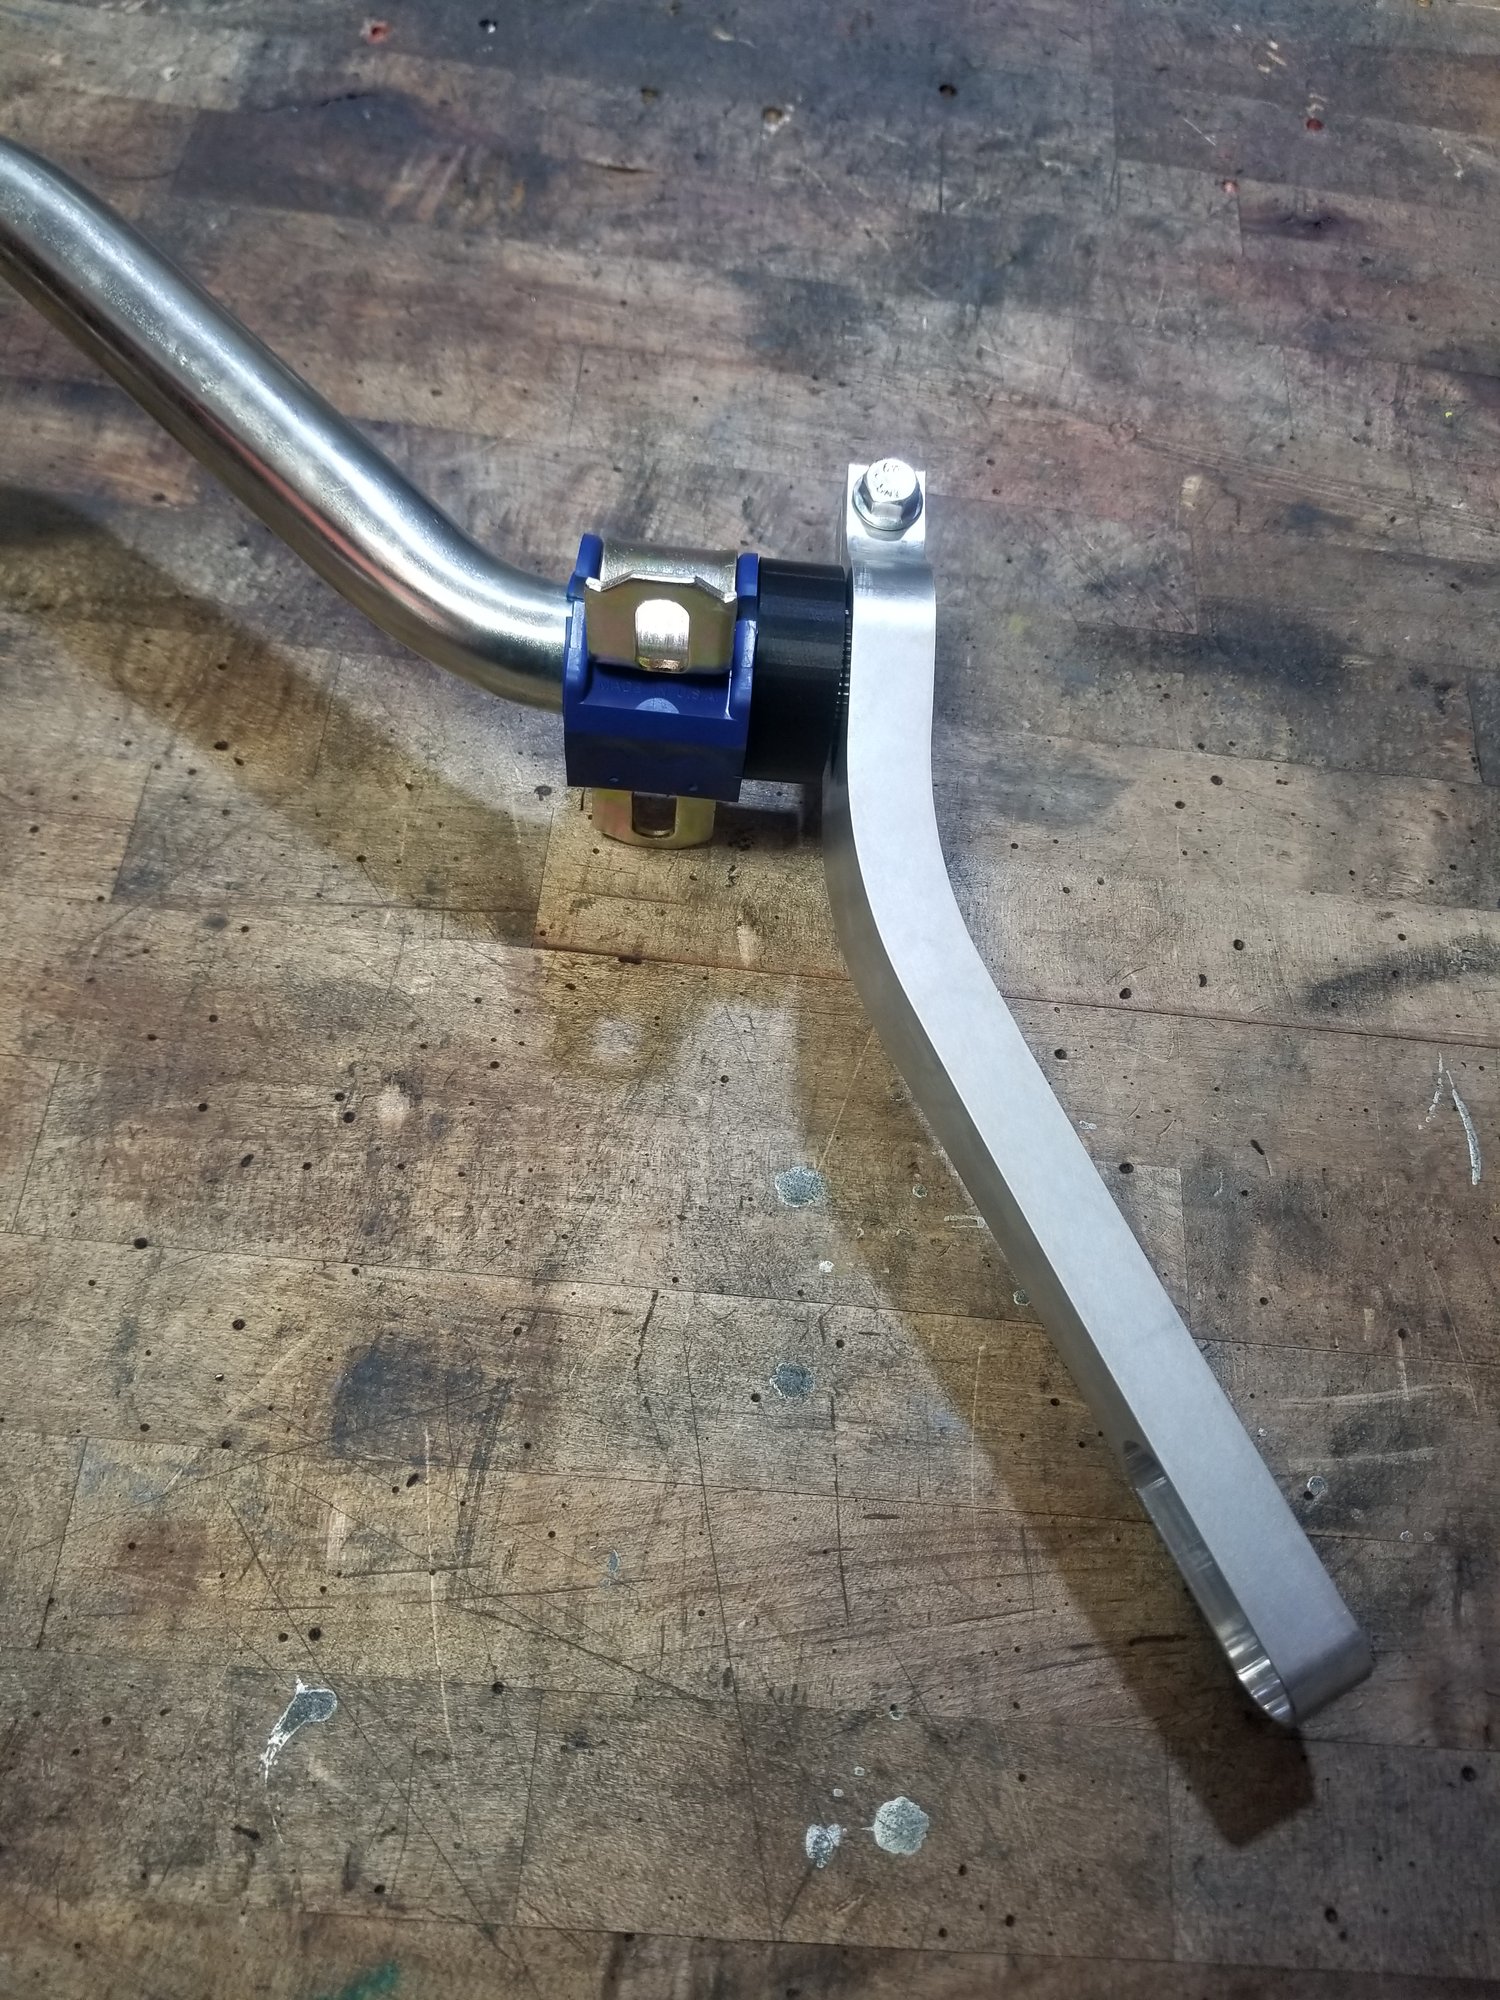
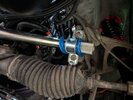
I also bought a new sway bar as I do not like how the cxracing relocation kit works. I was having issues with it grinding on the wheels when I got close to full lock.

Mazda RX8/ NC Miata 3 piece sway bar

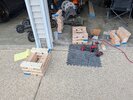
In order to install this I need to build some wheel cribs so I can load the suspension but keep it in the air. I bought the lumber but have not had a chance to build them.

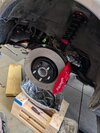
I also ordered willwood front brakes and would like to swap the brakes out before I do any autox.
I went with Hawk HPS pads and Centric Blanks.

Once I get these going I plan on getting it to an autox event. My buddy does a bunch of them and said he would co-drive with me and teach me a few things. I don't plan on getting super competitive or anything I just want to have fun and see what the car can do.

I did get to take the car to local cars and coffee and people loved it. I was also invited to a local highschool as my friend was talking to the auto tech class about auto cross and he wanted to show off some of the local cars in the area. It was pretty cool to talk to them and show them what they could do.

I still plan on swapping the diff but that is not in the near future. I am just glad to have all the parts to do it when I am ready.
 
Small Update:

Brakes are done, feel great , car stops very quickly with new tires and brakes without even getting into ABS.

I have an alignment scheduled for this week as well.

Sway bar is "done" the install took some time to make sure it clears all the things when it is loaded and unloaded. I also ordered adjustable endlinks as the OEM ones fit but they were a huge pain to install and pre-load the bar a little.

Next is to get to an autox event. I also want to keep tinkering with the stereo when I get some time.


PXL_20260530_193154843.jpg
PXL_20260528_222020478.MP.jpg
PXL_20260530_193150541.jpg


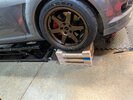
I also got the wheel cribs built. They work great but took forever to build. I did 2x4's and pre-dilled then used deck screws. I also used wood glue. They are very solid and not too crazy heavy to carry around. I got them about as high as I could for the lift I have and they are at a good height I can still work under the car. Helped a ton with setting the sway bar.

PXL_20260516_213530606.MP.jpg
PXL_20260517_153124979.jpg


I did have one weird issue. The swaybar bushings fell apart. had not even loaded them up yet it was just hanging out. The seller was legit and sent me 25$ to get new ones. He said he had another customer with that issue a few months ago so maybe a bad batch. MOOG K7326 Suspension Stabilizer Bar Bushing Kit for Chevrolet Tahoe is for the replacement and they fit well and felt much more flexible. I ordered them off Amazon.
PXL_20260517_145527789.MP.jpg
 
Last edited:
Update:

I took the car to get aligned. First shop I went to last week would not do a custom alignment so that sucked. Called around and found a shop that would. It ended up monsoon raining on my way to the shop and I almost wrecked the car a few times so that was fun. You can see in the previous alignment why the car was so hard to drive in heavy rain lol. They liked the car and got it all sorted so I am glad that is off the list. I told them OEM but try and get -2 camber on each corner.

I did notice when I got home the fenders were rubbing the tires in the rear a bit so I did a bit of a fender roll and hoping that is all sorted now. I could raise the rear up just a bit more if I had to. I just took my time with a heat gun and had a fender roller sitting around from when I owned the speed. It worked well.

chrome_ew63ZQ9kWx.png

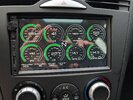
I have also "finished" my car audio setup. I always forget how long car audio takes with all the wires lol. I had the eonon feeding rca to the amp but I did not like the audio quality. I think it might have been ok if I added a sub but I found a good deal on a DSP and I have never used one before so I thought that might be fun to learn. I am running optical out from the Eonon to the Audison. After setting crossovers and adjusting the eq a bit I am really happy with the sound. Speakers hit 115db without clipping and sound very clean and tight.

I mounted the mono amp to the sub box incase I decide to go with a bigger sub or a custom box some day. The 4 channel is mounted where the bose used to be. The audison was pretty easy to setup and I am sure I could do a lot more tweaking with it but I am happy with how it is working now. The subs are small but they hit pretty hard and are very tight clean bass.
  • Eonon UX6S head unit
  • Audison Bit Ten D DSP
  • Audison DRC remote (custom fabricated RJ12 to Dupont cable)
  • Alpine S2-S80C front component set
  • Alpine S2-S69 rear coaxials
  • Stinger Audio MT-600.4 4 channel amp
  • CT Sounds CT-1000.1D mono amp
  • CT Sounds TROPO-6.5-D4 subwoofers (x2)
  • Rockville RD65 dual sealed 6.5" enclosure
  • Recoil MFH12 2 way mini ANL fused distribution block
PXL_20260607_234132966.jpgPXL_20260607_234142695.jpg
PXL_20260607_234128248.jpg


PXL_20260607_234145401.jpg
 
-

My first auto x or racing ever. I got a DNF on this one as I hit a bump and hit the brakes too late but I did not lose complete control just went around a cone. Was still a super fun run. I got first for overall time in the newb class and my buddy co-drove it and would have had 3rd in the regular class. The car is very fast and I need driver mod for sure. The car did amazing. It did go into limp mode a few times due to oil pressure so I am looking into better pan with baffling maybe accusump. It was like 90f all day too so the car did great for the hot temps. Coolant never got too hot but oil climbed to 250f , not unsafe but on the hot side.

Overall I am more than impressed with the car and the build was solid. Everyone who drove it was really impressed with the balance and handling with the monster v8 in it. It was a lot louder with the cut outs open than I thought it would be lol. It was also shooting 3 foot fireballs so I might want to tone that down a bit in the tune but it looked awesome. A little bit more work and the car will be a solid auto x ripper. I have some more updates to add here AC, Sway Bar Extensions, etc but I have been lazy and my home AC is broken so that has been a whole thing.
 
Last edited:
what weight oil were you running? the heat could have thinned it out and caused the low oil pressure vs an issue with starvation
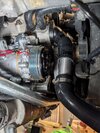
 
what weight oil were you running? the heat could have thinned it out and caused the low oil pressure vs an issue with starvation
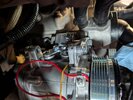
5w40 Euro Valvoline , the swap pans are known for not great baffling and at the time I did not think anything about it. From the logs it is def related to g forces of the oil sloshing with hard accel and hard braking/turning. I could probably run vr1 and might do that next.
 
Smol Updates:

I haven't really updated what I have been tinkering with lately. So here is all the things.

Air conditioning A/C
LS A/C Bracket Sanden 7176 - Corvette Spacing (Low Mount)
Vintage Air A/C Compressor - SD7 \ 7176 Sanden
ACDelco Gold 4K372 Standard V-Ribbed Serpentine Belt
26PCS Air Conditioning Hose and Fitting Kit Includes 10ft. #6#8#10 AC Hoses and #6#8#10 AC Fittings and 12PCS Orings with 1-5/8" Pipe Cutter

I purchased an AC compressor kit hoping that I could get AC going. Originally I was going to run the rx8 compressor but with the CX Racing mounts it does not fit. I found a kit that looked promising so I took a chance and YES , it does fit!!! I plan to use the oem condensor but add my own fill ports and all that. I have not gotten any further into this but it might be a winter job.

PXL_20260707_225853888.jpg
PXL_20260701_234242886.jpg


Sway Bar Extensions

Mazda RX8/ NC Miata 3 piece sway bar
RX8 Adjustable Sway Bar Endlinks

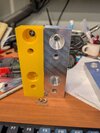
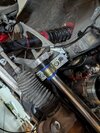
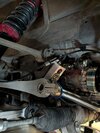
In order to have the sway bar clear the idler pulley for the A/C I had to bump it out and down just a bit. I did a bunch of 3d printed mockups until I found one I liked. @Maisonvi hooked me up with some machine time and made a final AL version for me. Big thanks for that. I was able to get it all installed before the auto x event. During Auto X I did not have any issues with the sway bar touching anything or making weird noises. If someone wants the cad files I can send them. I also purchased the adjustable end links which made setting up the new sway bar a breeze.

PXL_20260708_191936225.jpg
PXL_20260708_223533995.jpg
PXL_20260708_223538661.jpg

Coolant Hose DIY

Endure 45 Degree Elbow Coupler Silicone Hose 4-Ply, 1.5-Inch(38mm), Couplers for High Performance Vehicles, Intake Piping, Length(102mm), Thickness (5mm), Automotive Silicone Hose - Black

I33T Automotive Silicone Tubing, ID1.35" to 1.5" (35mm-38mm) 45 Degree Elbow Reducer, 4.7" (120 mm) leg length,Universal 4-Ply High Performance Coupler Silicone Hose (Black)

Hiwowsport Tube Pipe Tubing Beader Tool Bead Roller Intake and Intercooler Piping Fits 5/8"

AC PERFORMANCE 1.5" (38mm) OD Straight Aluminum Intercooler Pipe Air Intake Tube, Brushed Finish

EVIL ENERGY Coolant Overflow Tank, Radiator Overflow Bottle 800ml Aluminum Universal Black

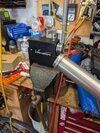
The coolant hose was now touching the pulley on the AC Compressor. I did some thinking and it is pretty hard to find hoses that work without a ton of trial and error so I decided to make my own. The RX8 Radiator is lower hose is 35mm OD and the LS thermostat outlet is 38mm OD. Originally I made the OEM rx8 hose work. I think I ended up using both the 45's but I did order a 90 as I was not sure how it was all going to work.

The bead roller worked great you just have to take your time with it. I also installed a coolant overflow can as I was getting some coolant on the ground and I did not want that to happen at the autox event.

PXL_20260707_225853888.jpg
PXL_20260709_194243946.jpg
PXL_20260701_222802609.jpg

Safety

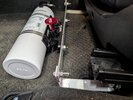
If you are building a car and messing with all the things "fuel included" it is good to have a fire extinguisher. They make some brackets for the RX8 but they seem to come from Lithuania and I had some scrap AL so I just made one myself. It is very secure and easy to reach from inside or outside the car. It tucks nicely under my legs and nobody had any issues hitting it. Some of the quick releases are plastic but this one was AL as I did not want plastic breaking down in the sun and it becoming a projectile while driving.

Universal Vehicle Adjustable Quick Release Roll Bar Fire Extinguisher Mount Holder Brackets for Car UTV ATV, Tractor Jeep Wrangler JT TJ JKU JK JL UTV Cam-Am X3 Polaris RZR Ranger

Kidde Auto 10 Fire Extinguisher for Cars and Trucks, 10-B:C, M10G | Motor Vehicle Extinguisher for Small Flammable Liquids/Gases and Electrical Fires, 2.9 lb. Dry Chemical

PXL_20260717_193132746.jpg


Oil Pan Baffle

GM LS Swap Oil Pan Baffle Kit 17-302-11
Swap Conversion Oil Pan Retrofit Low Profile For LS1 LS2 LS3 LS6 4.8 5.3 6.0L - Holley 302-2 knock off


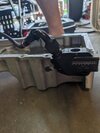
At Auto X I noticed that I was losing oil pressure on hard braking and some of the turns. Oil looks clean, no glitter and the car sounded the same. I decided to add a baffle "wish I would have known when I built the motor" I originally purchased an f body pan and improved racing baffle as the baffle for my 302-2 pan was more expensive than just getting an f-body pan and f-body baffle. Of course after I did more searching and already ordered parts I noticed the LSXceleration baffle which is way cheaper and fits my pan. From all the images they all look identical as I am pretty sure only one company makes them for Holley, Improved racing etc. I also was not sure if the f-body pan had the clearance I needed and I don't really want to mess with it since the only way to know would be to install it and test fit and that will be a major pain. I know the 302-2 pan works so I am going to stick with it.

If anyone is looking this was a really nice piece but I will be sending it back or selling it locally.
98-02 Camaro/Firebird F-Body Low Profile Oil Pan Kit Complete GM Engine Swap
LS1 Camaro / Firebird (F-Body) Racing Oil Pan Baffle

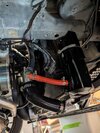
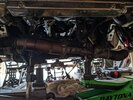
I had to drop the subrframe to get the oil pan out, which is super cool.... Otherwise it has been pretty straight forward. I might take this time to redo my oil cooler lines as they are rubbing a little as well. Once I have the baffling sorted I will be working on AC when I get some time.

PXL_20260725_213847563.MP.jpg
PXL_20260725_213853718.jpg
PXL_20260725_212530598.jpg
 
Back
Top