DIY Ethanol Content Gauge

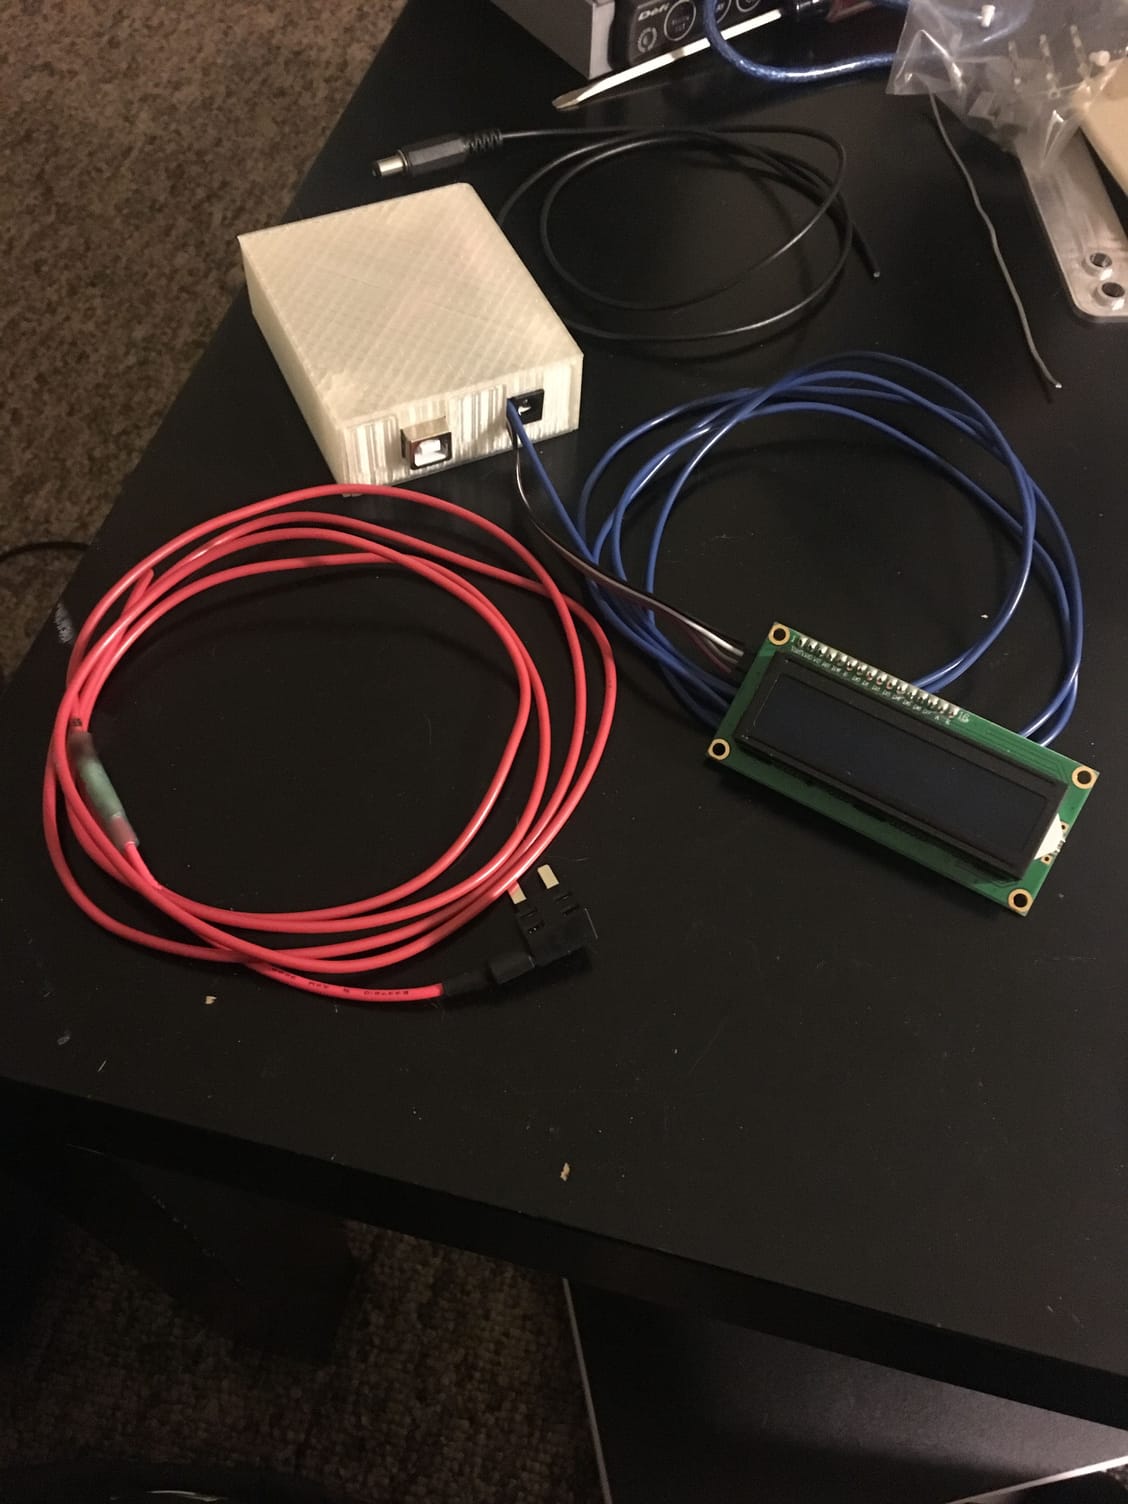
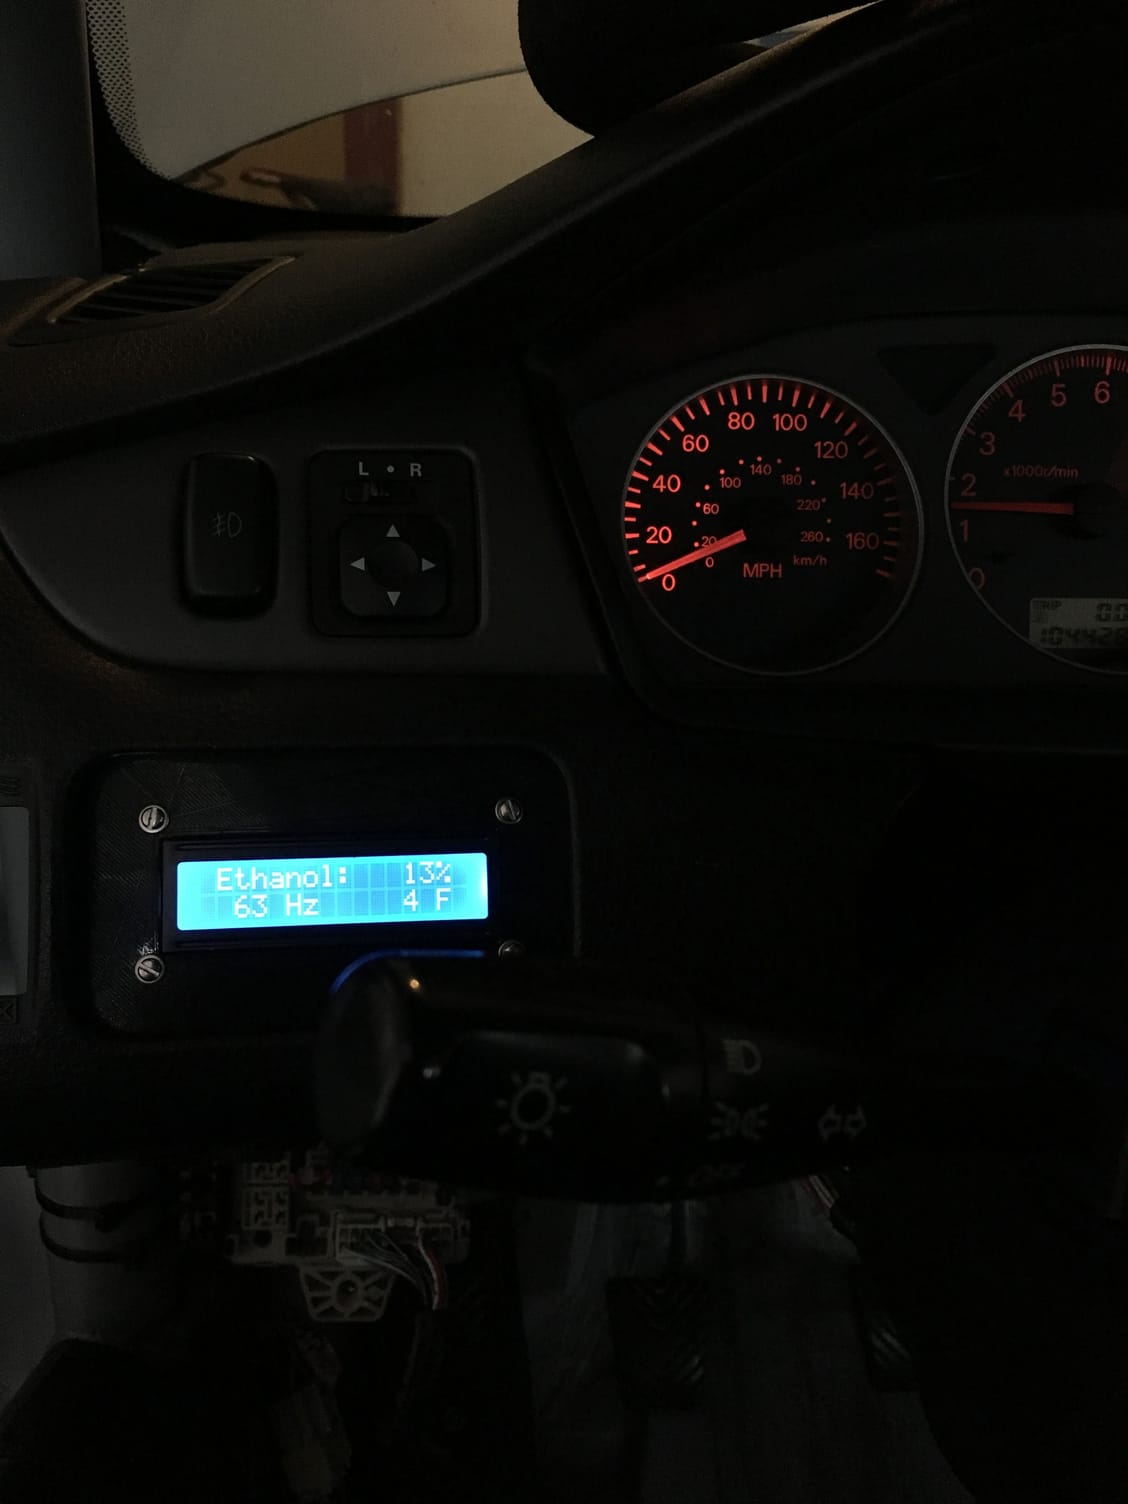
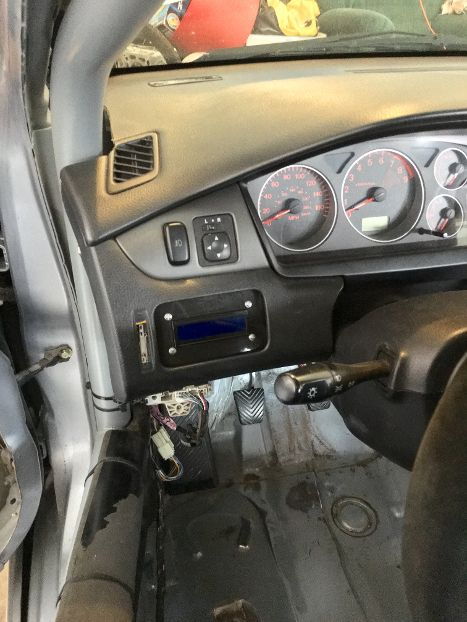
Got my arduino programmed and the LCD working tonight. This is the first time I've ever done any sort of coding and it wasn't bad. Just had to get used to how the arduino software works.


Some notes to help anyone who goes through with this:

- I used the libraries and code from the OP in the evo forum thread linked earlier so this only really pertains to that. The two libraries in the zipped folder you download there are for the LCD. Be sure to change the - to a _ in the LiquidCrystal-I2C (change to LiquidCrystal_I2C) library. The software had trouble identifying this library properly before changing it. And change the LiquidCrystal library's name to LCD, as this will also help the arduino software properly find this library.

- The third library needed is the wire library. I had to go online to find this one (link: https://github.com/esp8266/Arduino/tree/master/libraries/Wire) and just copied the code and made a new library. Open notepad and copy the code for the .h file and save it as wire.h. Do the same for the .cpp file and save it as wire.cpp. Lastly, (not sure if it's actually needed but I did it anyway) copy the keywords file and save it as keywords.txt. Put all of these 3 files into a folder and name the folder Wire. Move this folder into your libraries folder.

- Depending on where you got your LCD screen from will probably affect this next part. The back of the LCD screen has an I2C bus on the backside that the wires get connected to. You need to know the address for this I2C and put it in the code in order for information to be displayed.

Copy the code in this link: https://playground.arduino.cc/Main/I2cScanner which is a code that scans the I2C to find the address (or something like that). So start a new file in the arduino software and paste that code into it. Make sure the arduino is connected to your computer and the LCD/I2C is wired properly to the arduino. After you've done all that, hit the upload button. Once you've done that go to Tools > Serial Monitor. Give it a couple seconds to scan and it will spit out the address of your I2C.

Now that you know the address of your I2C, go back into the code for the ethanol sensor readout and there should be two places in the code where an address is listed for your I2C (it be 4 characters and starts with a 0x). Replace that address with the address you got from the scanner. Now you should have all 3 proper libraries and the right address for the I2C so with the arduino connected to the computer hit upload and it should display the right information.

Let me know if you guys have any questions and I'll do the best I can to answer, but there's plenty of people here who know more about this than me.

View attachment 7584

80-image1_cc4572c0614ffdf0c28157a03bfb695d7406cfd2.jpg


That doesn't look like a mazda lol. I have been meaning to do more work on this but it might be waiting until summer. If some spare cash and time fall out of the sky I will take a look. Should be a pretty easy install since you are full race car. Nice work.
 
That doesn't look like a mazda lol. I have been meaning to do more work on this but it might be waiting until summer. If some spare cash and time fall out of the sky I will take a look. Should be a pretty easy install since you are full race car. Nice work.

It's a Mitsuspeed8. If you guys interested I can look into making a bracket/enclosure to put it in the ashtray. Unfortunately with the air vents being round on the speeds I don't think it'd fit there for you guys. Also for those not interested in a permanent install you can power the arduino with a 9V battery instead of wiring it into the car. Overall, for the less than $100 it costs I think it's well worth it.

And thanks! I'm going through all the wiring in the car this winter to try and clean things up/simplify routing, hoping to get the arduino stuff wired in neatly when I do that.
 
It should be pretty easy to tap the cig lighter and use the buck converter to get a nice power source. I would like to just install it and never mess with it again so I would go that route. The arduino allows for almost limitless configurations. Follow your heart lol
 
I have a cut out ash tray holder for my screen and everything all in a box waiting to be installed! @JohnnyTightlips trying to buy an unfinished project??
Possibly, the only part I would need is the ashtray and Ken said he could look at doing a 3d printed holder for the stock tray so idk what I will be doing.
 
looks good, Austin!

I'm antsy to get this set up but since I don't have a backup car, I don't want to be the guinea pig for figuring out how to run the fitting and sensor into our stock fuel line.
 
looks good, Austin!

I'm antsy to get this set up but since I don't have a backup car, I don't want to be the guinea pig for figuring out how to run the fitting and sensor into our stock fuel line.
Send me that cash :-) I will be your huckleberry.
 
Made an enclosure for the arduino as well as a prototype bracket to mount the sensor on the back of the intake manifold. Confirmed bracket fitment earlier today and should be cutting one out of metal later this week. I'll post up some pictures of the finished setup when I'm done with it. Just need to finish wiring everything up and I should be good to go then.

80-image1_5__f7087d784ba145e1f0b6850a0ef5b52e9a377092.jpg


80-image3_09f35f2c039d132245c908ac5ac01bed47a8c2f2.jpg
 
Milled out a bracket and finished wiring everything yesterday. Got it all running today. Everything is wired so that it is completely plug and play, no splicing into factory harnesses and is key hot so no switches needed to turn the system on or off. The bracket mounts on the back of the intake manifold using existing holes and can use the factory return line, also gets rid of the return hard line that runs over the top of the fuel rail, just had to get some hose to connect the sensor to the FPR. Now the only thing left to do is figure out why the temp is displaying wrong.


80-image1_7__f06600d3443197250cbbebb1cfb2e989cdd464c0.jpg


80-image2_1__e67614331a80d883172b59e5ad81c296cec11663.jpg


80-image3_1__5415135f45cc9f6032cd8c13dfc6b54b57443505.jpg


80-image4_9b432f5eada7b939dad96e757b69842cf6e70cc5.jpg


80-image5_f05bb0670f45e720f5127296fe25b080a2b0fd0d.jpg


80-image6_ce829acb2d40eb587858c86677f687cd20c81af4.jpg
 
Looks good, I have not heard great things about those push clip fittings so I hope they hold up.
 
Last edited:
Looks good, I have no heard great things about those push clip fittings so I hope they hold up.

Interesting. First I've heard of that. It's a standard quick disconnect on one end and a hose barb on the other end. Pretty normal stuff that you see in OE applications.
 
Interesting. First I've heard of that. It's a standard quick disconnect on one end and a hose barb on the other end. Pretty normal stuff that you see in OE applications.
@Maisonvi suggested I use a different fitting as you can see from the one I posted on the other thread for the sensor. I thought it was strange too but he knows his stuff.
 
I've been thinking about doing this, but utilizing my android head unit that I purchased a while ago. Since all of these ethanol sensors seem to be pretty basic (power, ground, signal) I would think that an app like this would probably work:

https://play.google.com/store/apps/details?id=com.dmacpro91.fuel_it_eth&hl=en

There are a few like this, and this vendor offers a bluetooth adapter for the kit that they have. Bluetooth could be added onto some Arduinos as well.That would make this whole install so much cleaner for me. I haven't done much with Arduino yet, does anybody see a reason why this wouldn't work?

It should work it just makes it more complicated. The arduino does have stuff for bluetooth and it would be cool to see it on he HU but most people would just want a standard display.
 
Back
Top